


Designing your own nail art just got way easier (and way cuter!). Our nail art stickers let you instantly elevate your mani, no steady hand or salon trip required. Each nail decal is made to layer effortlessly over our Gelly semi-cured gel wraps, but they also apply beautifully to bare nails or regular nail polish.
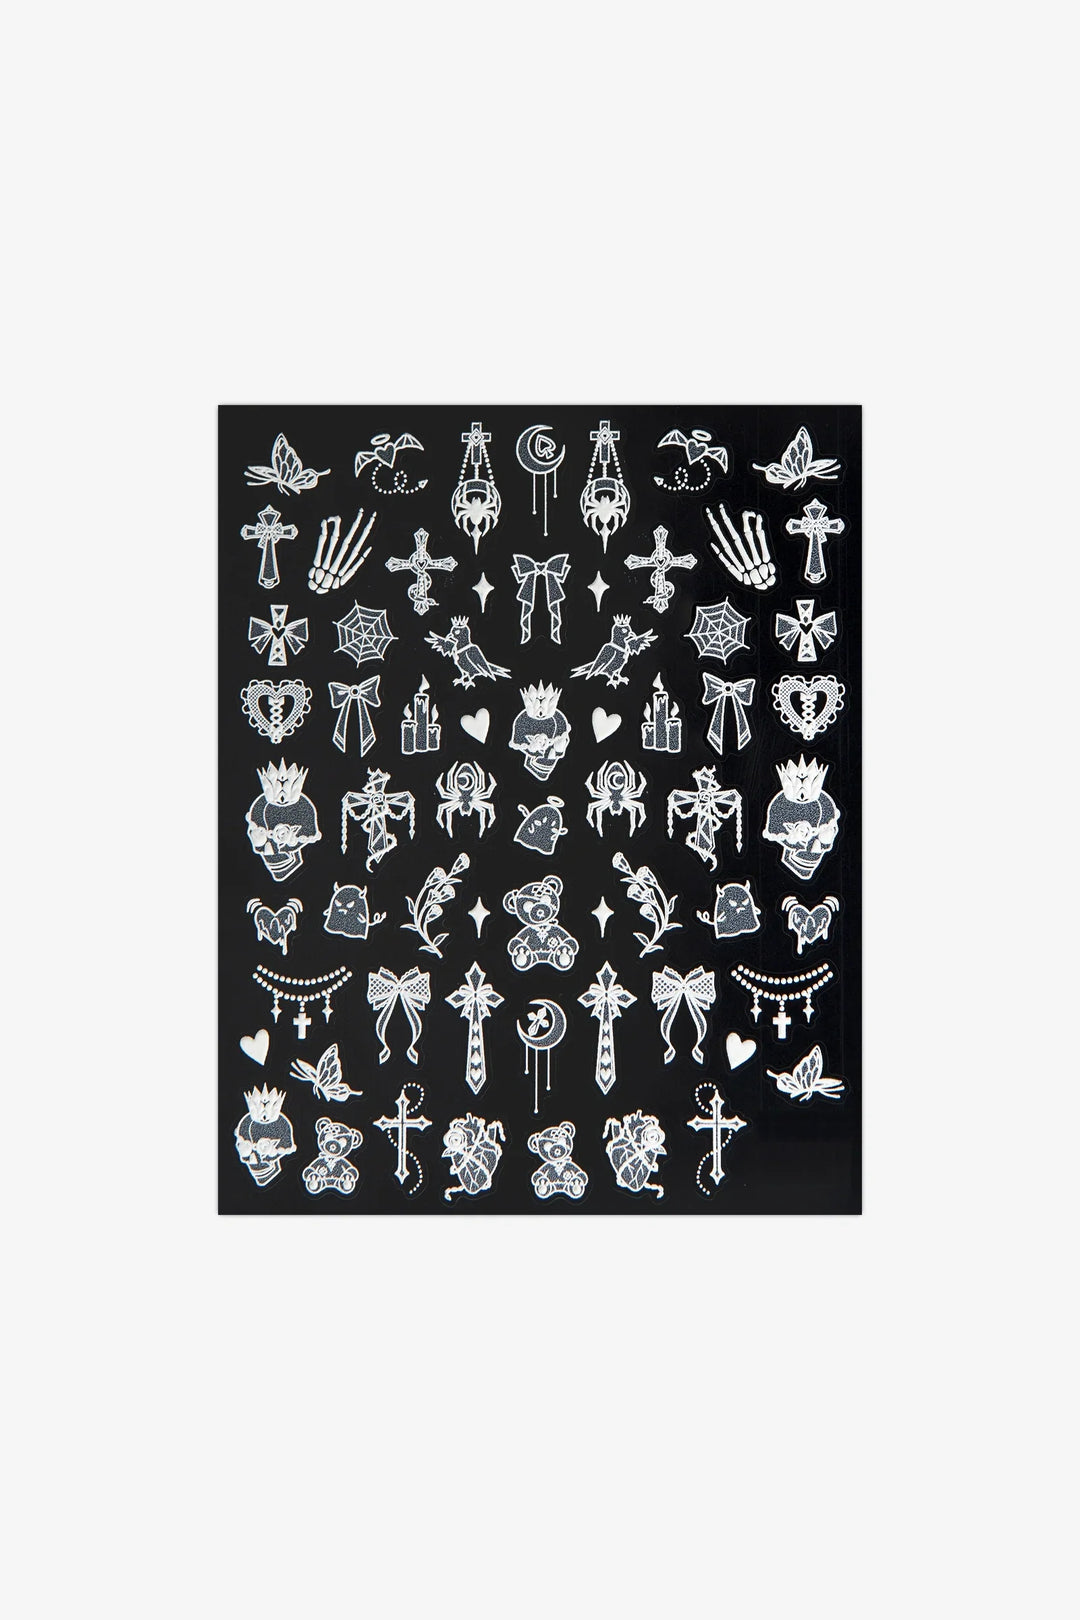
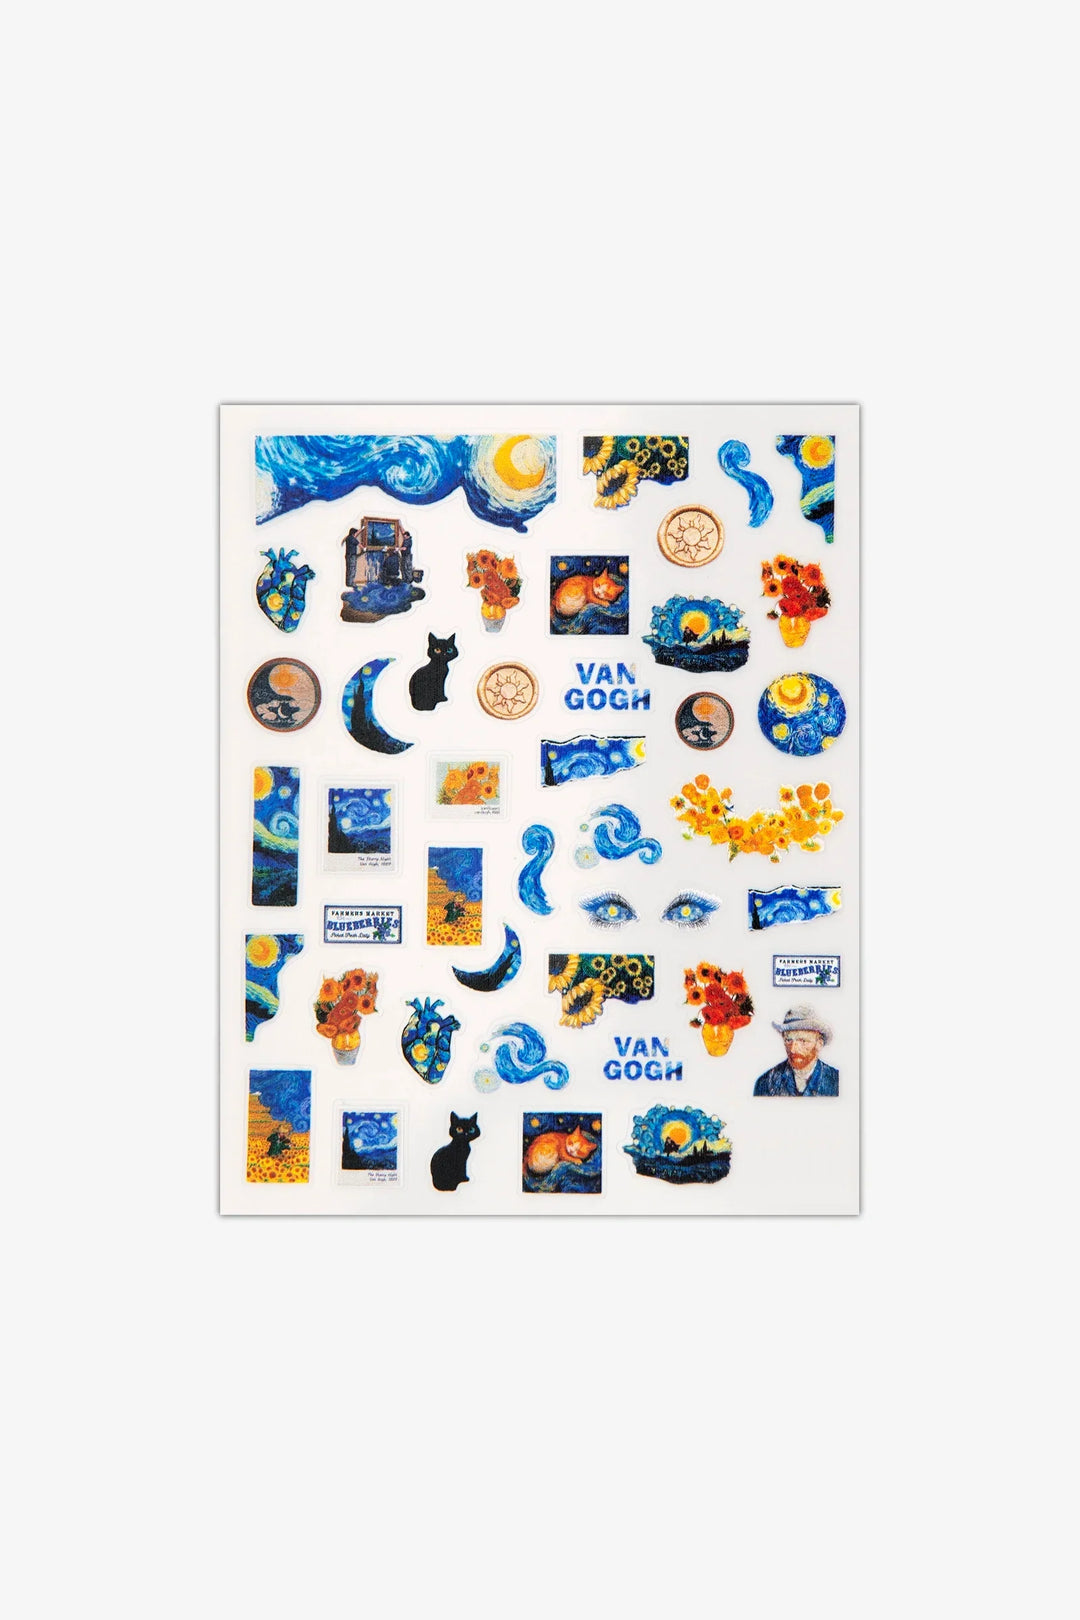
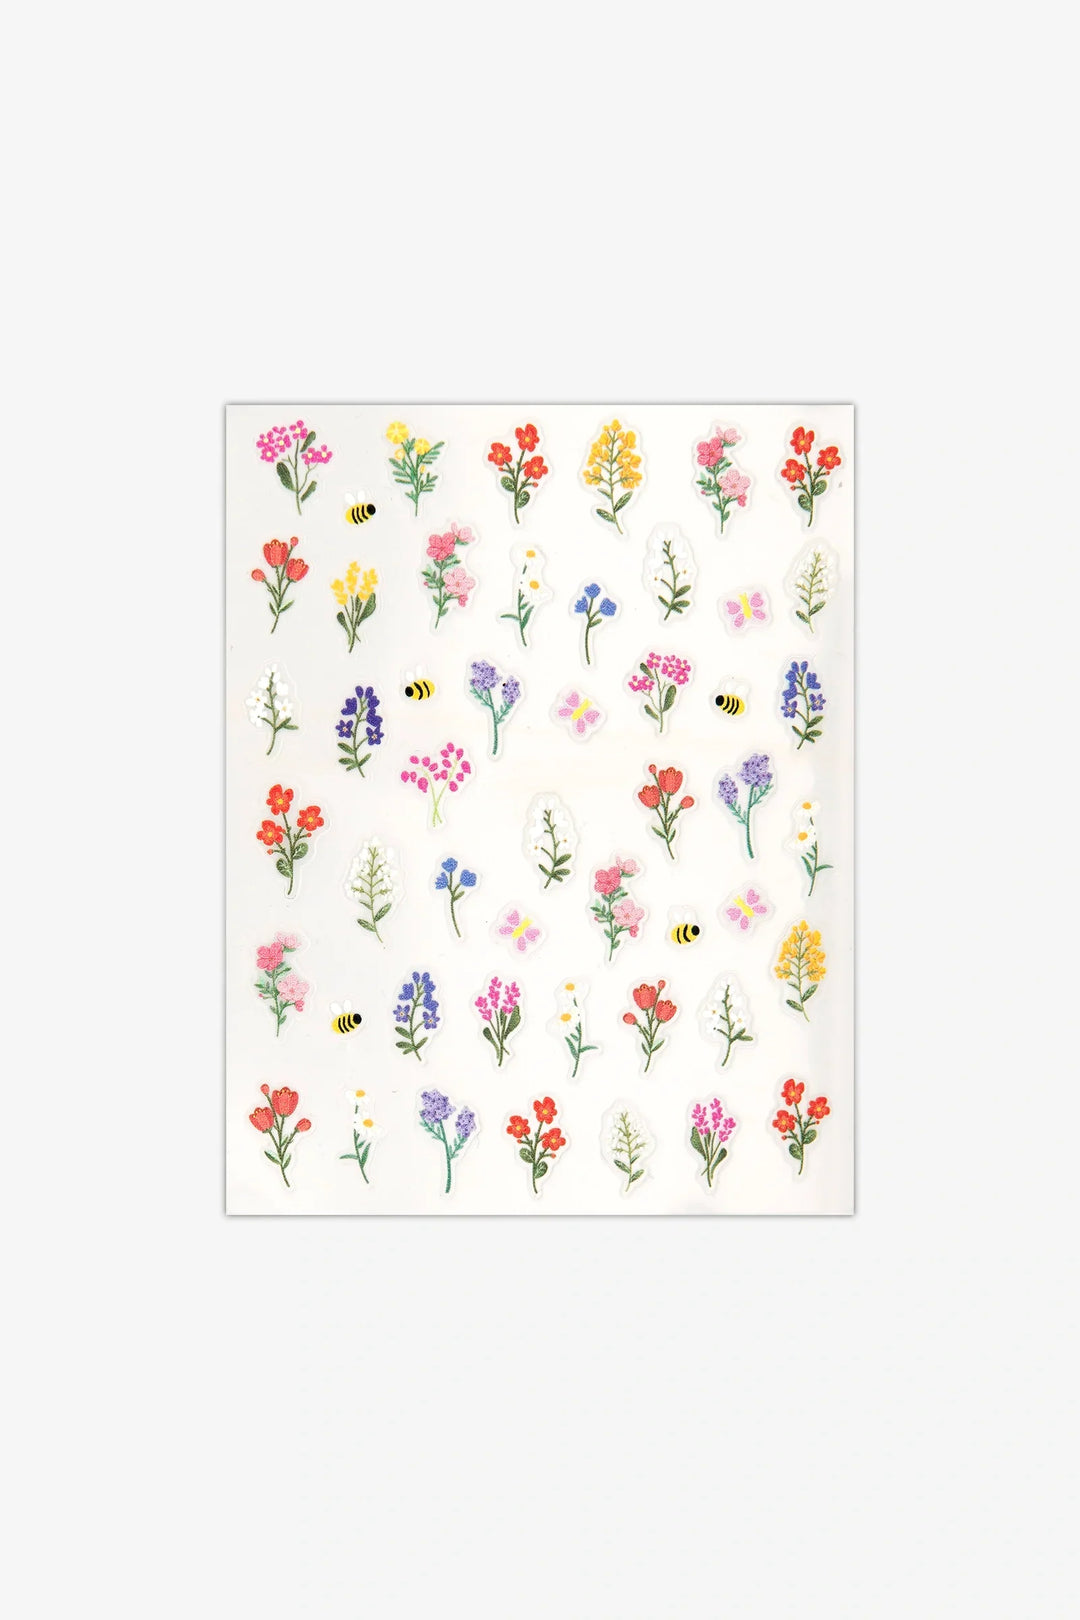
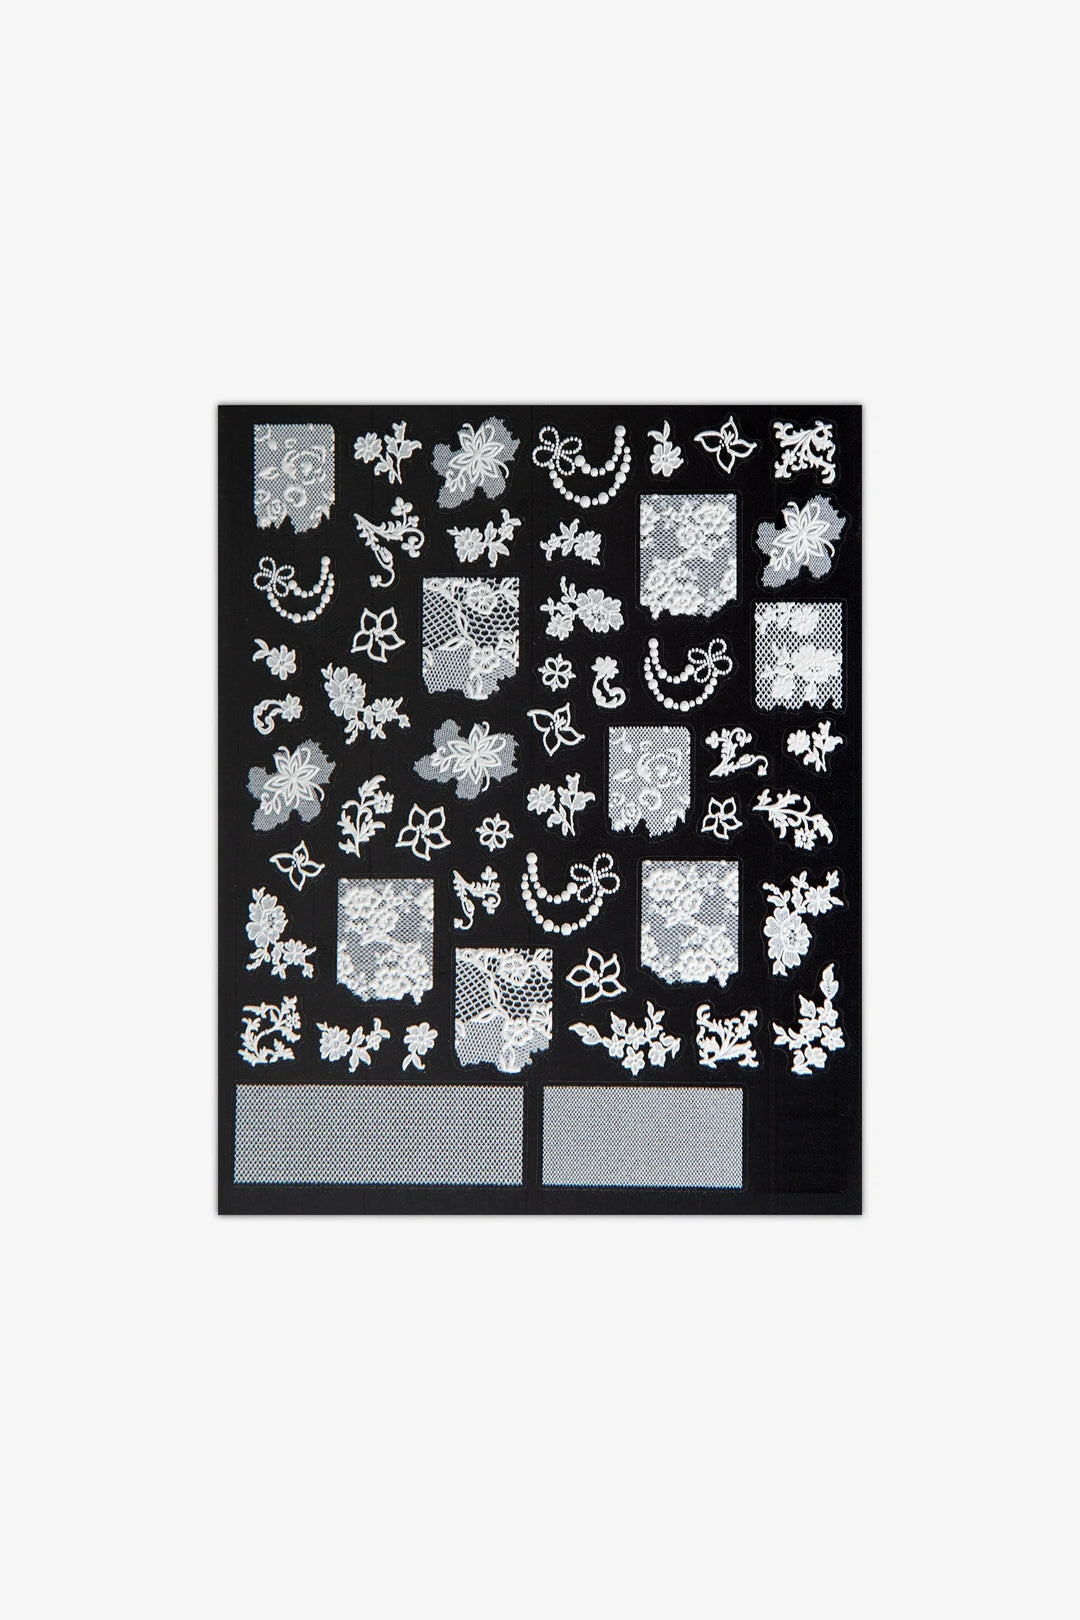
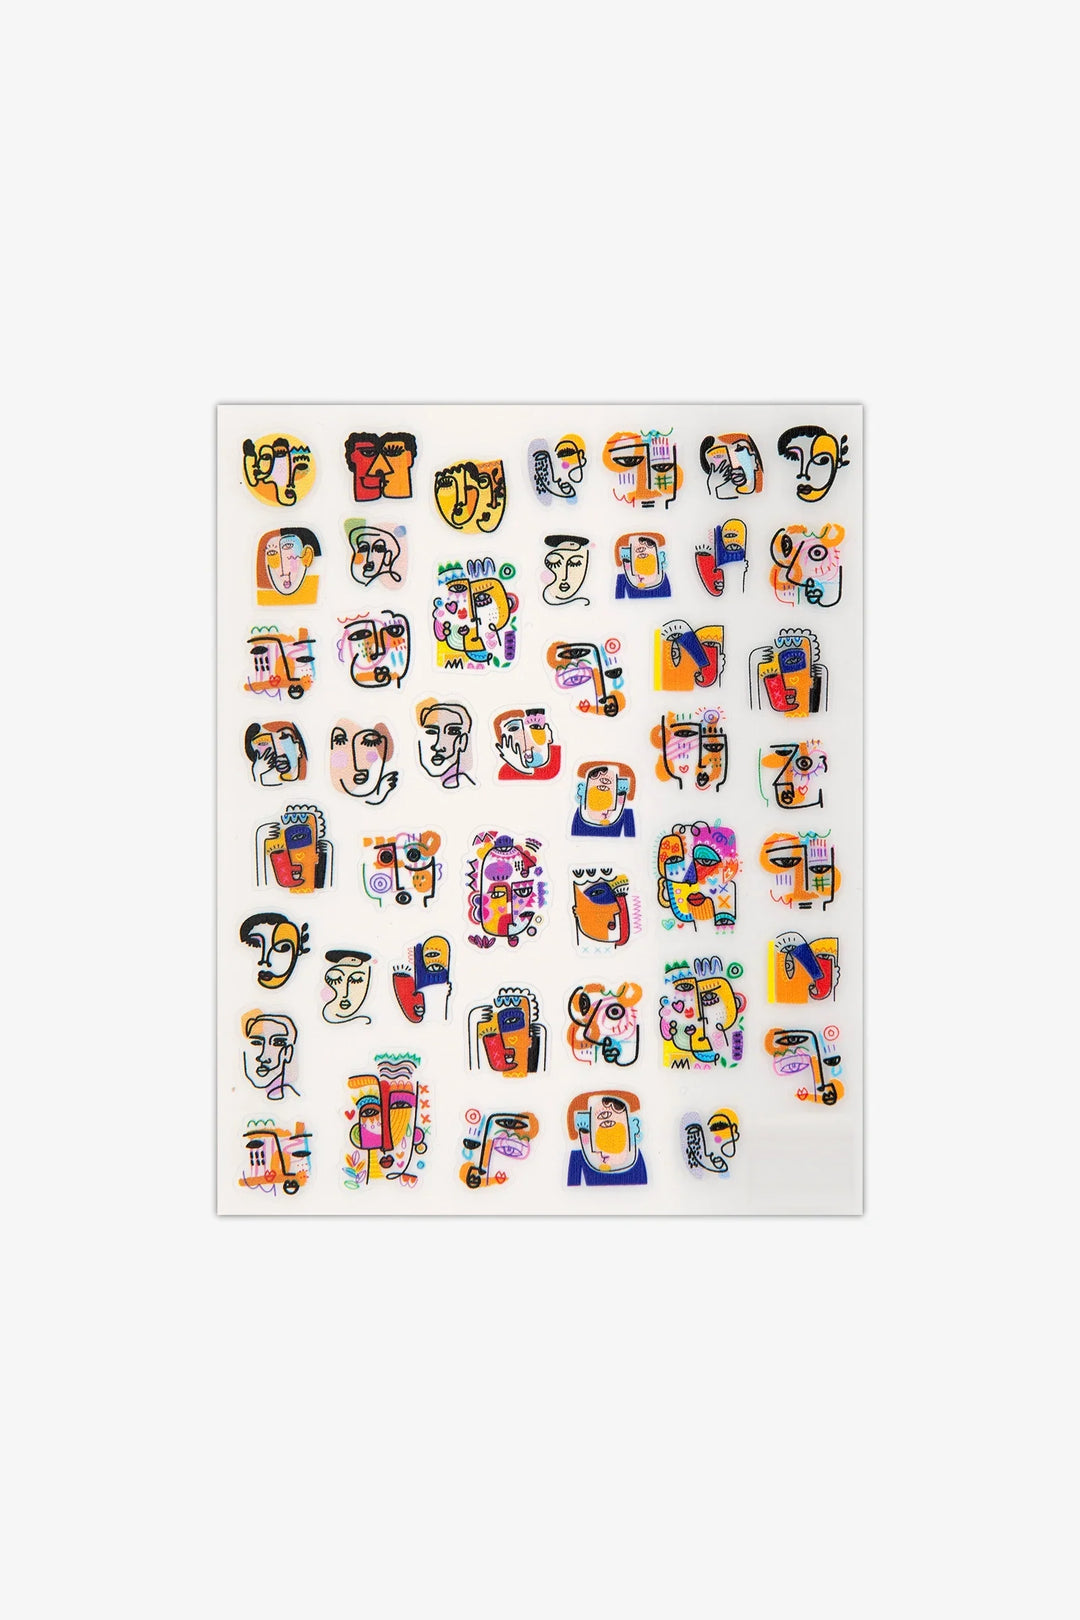
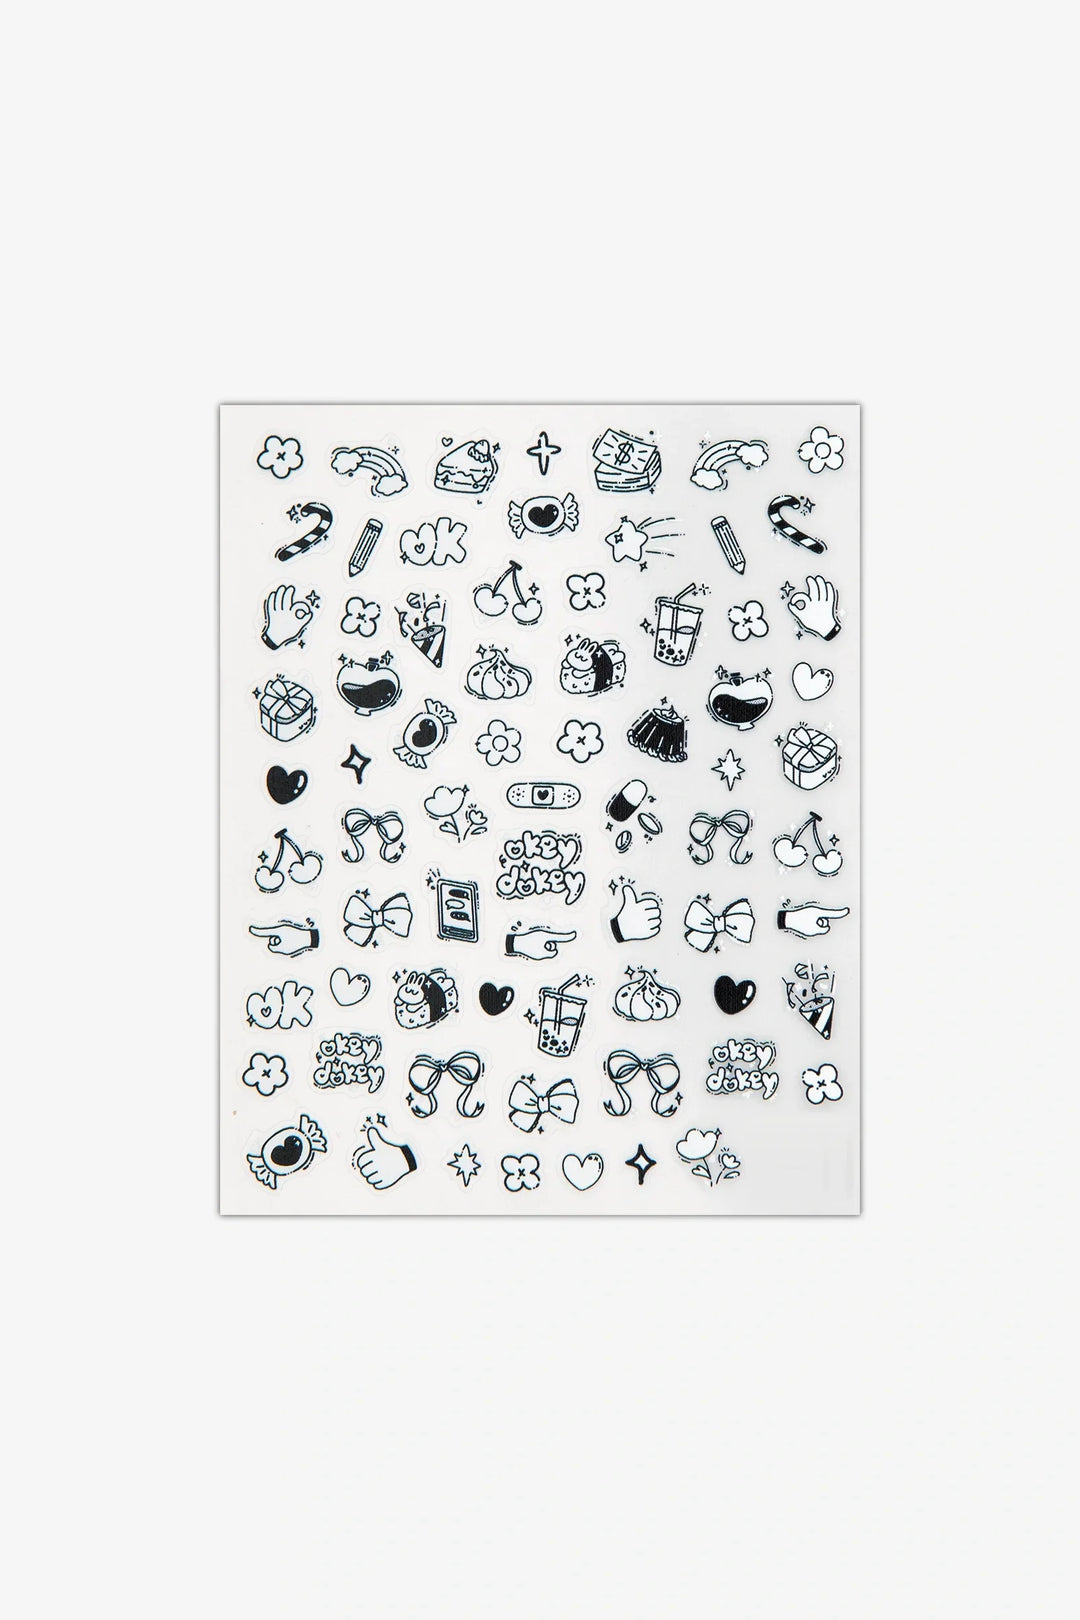
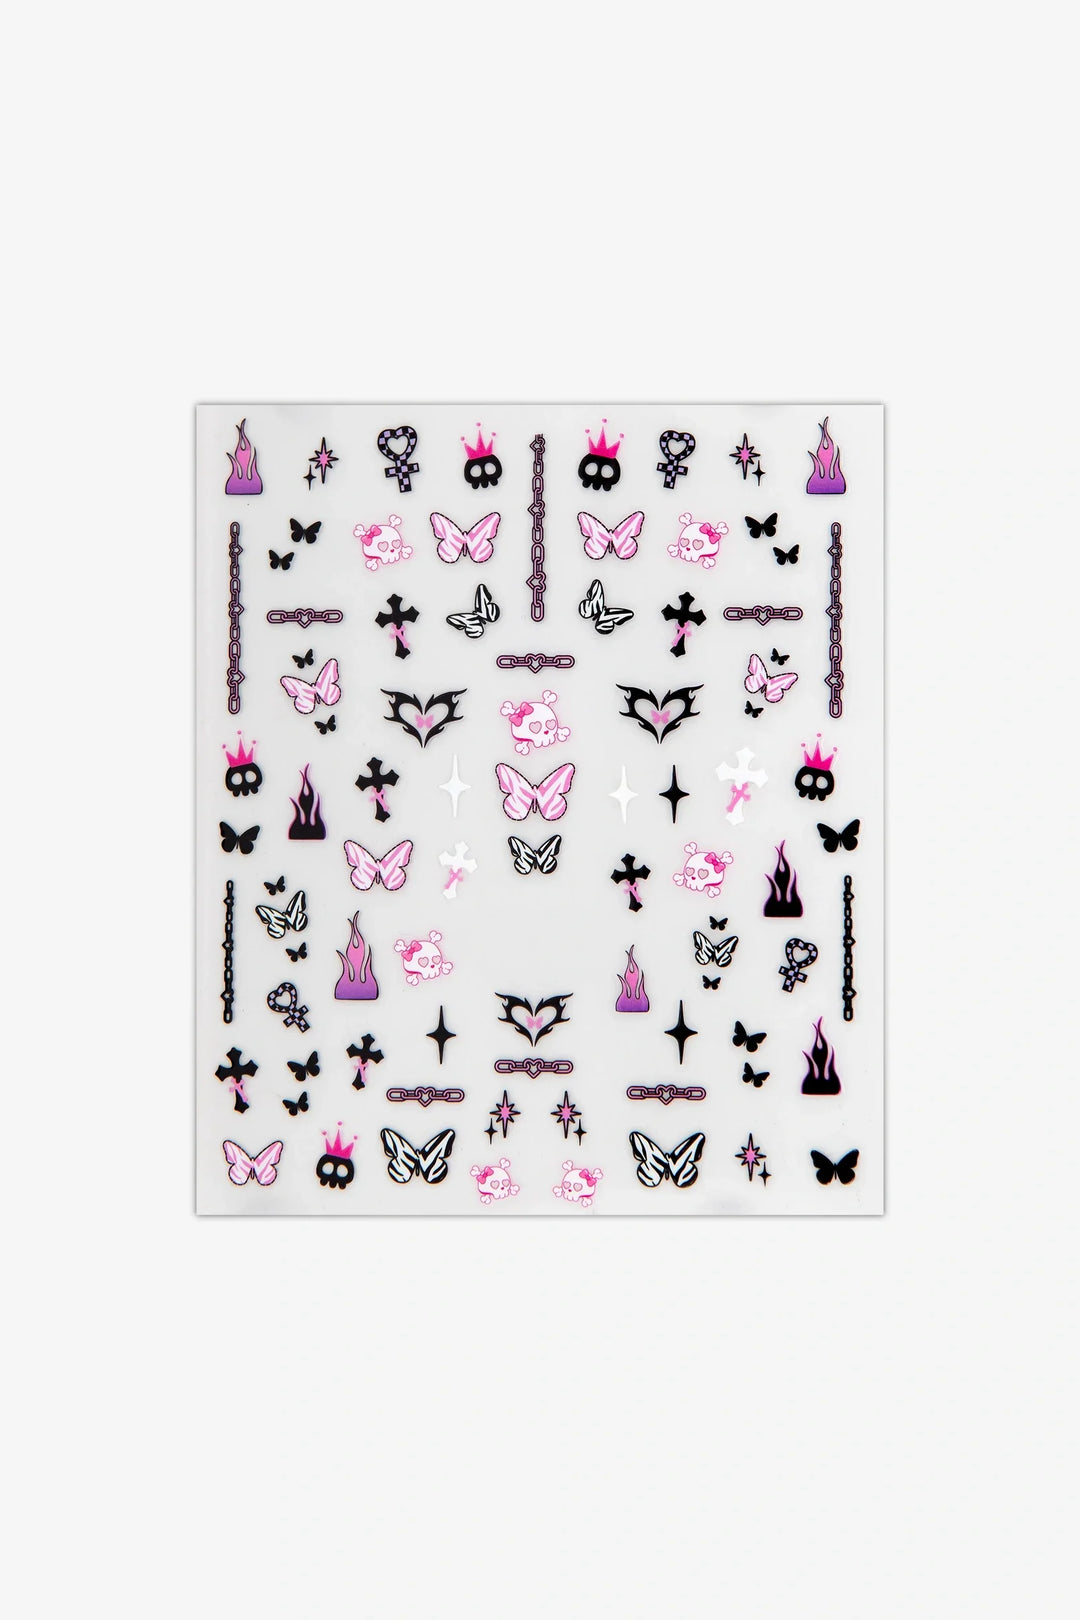
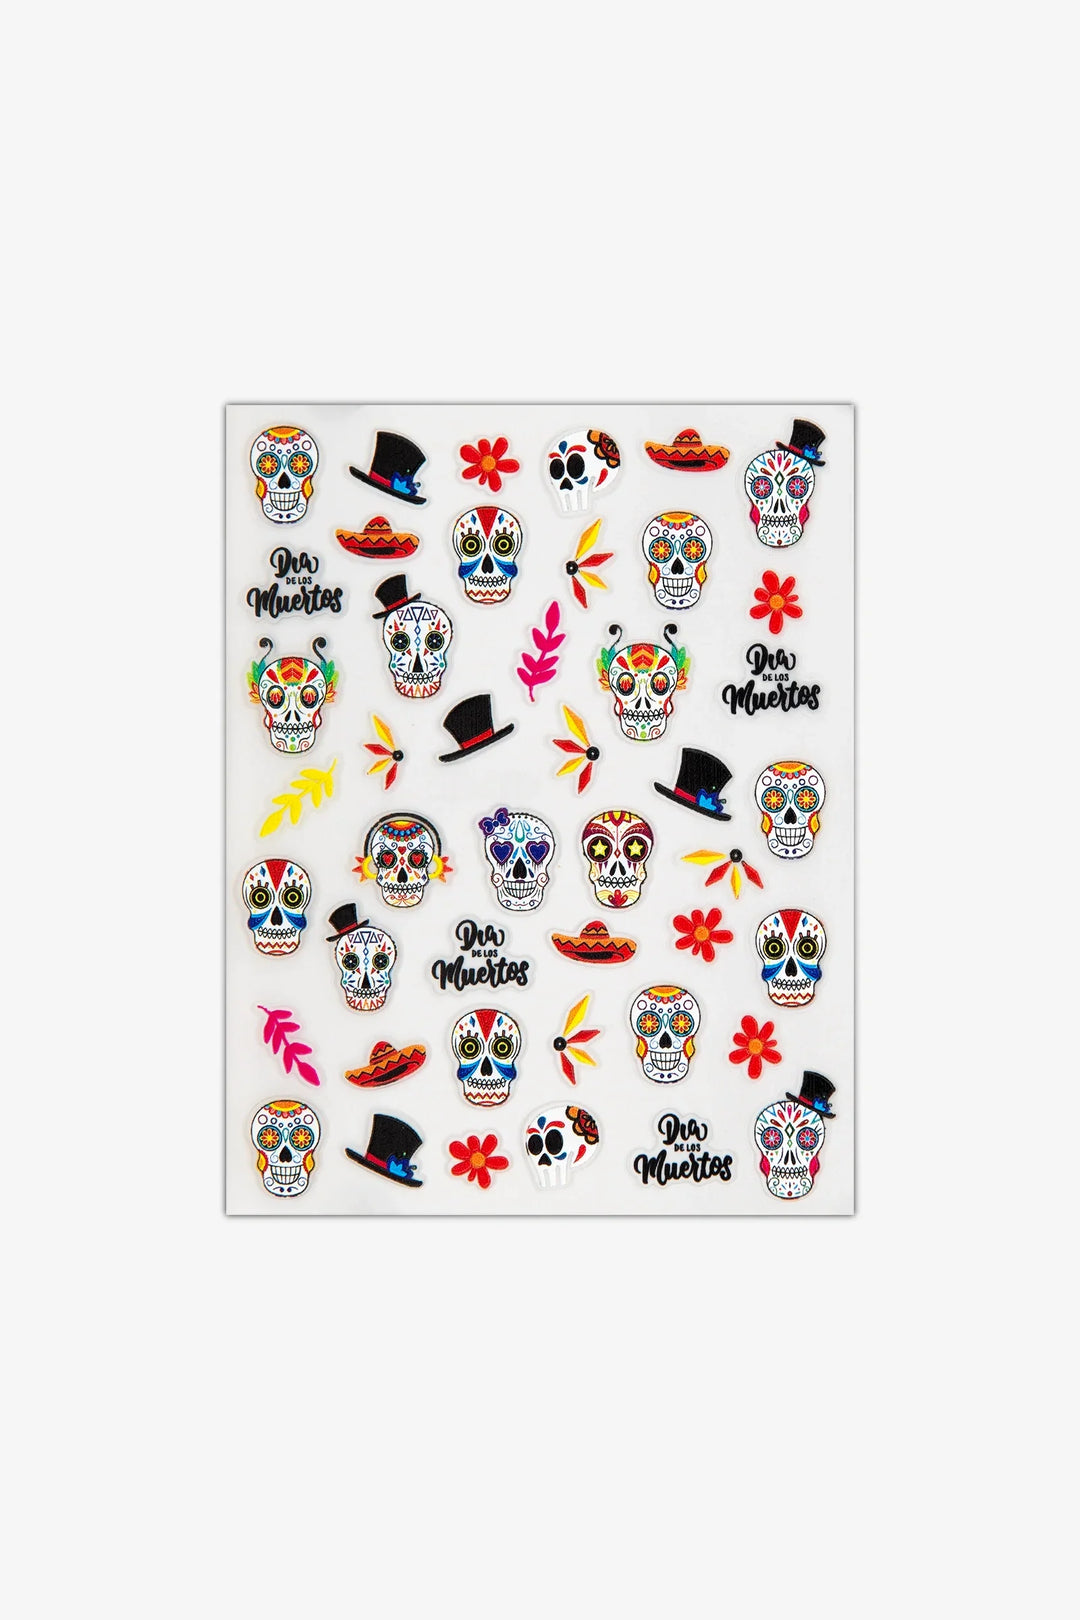
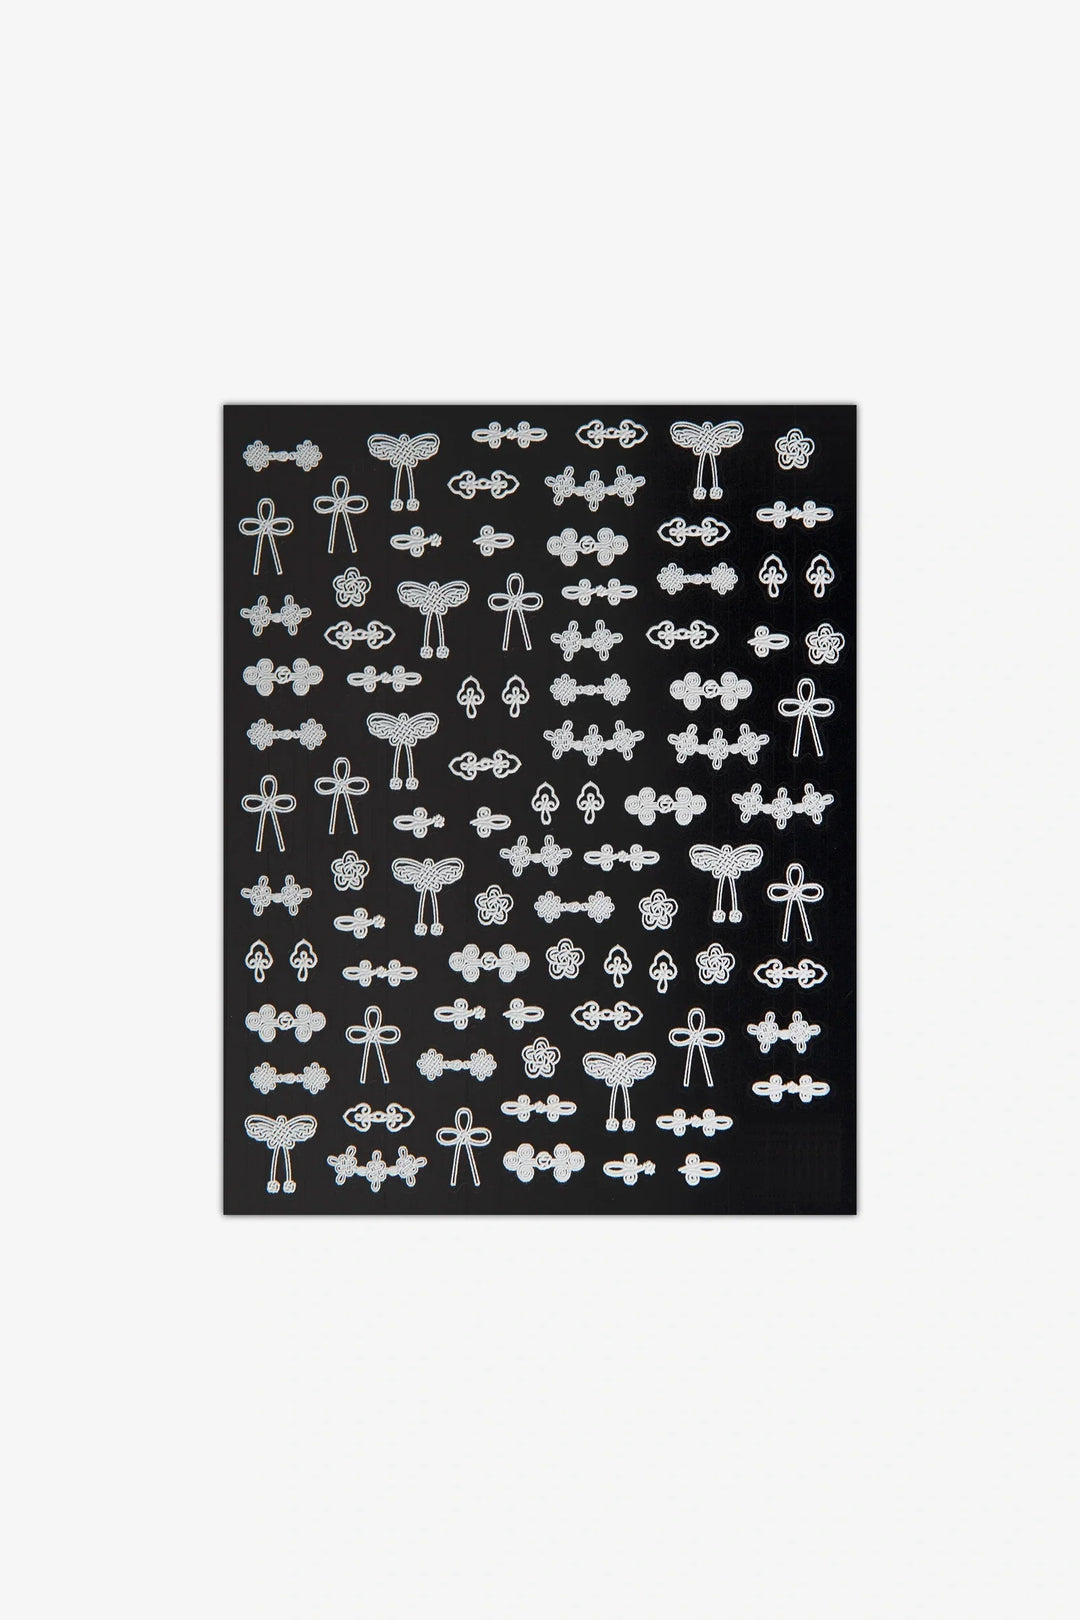
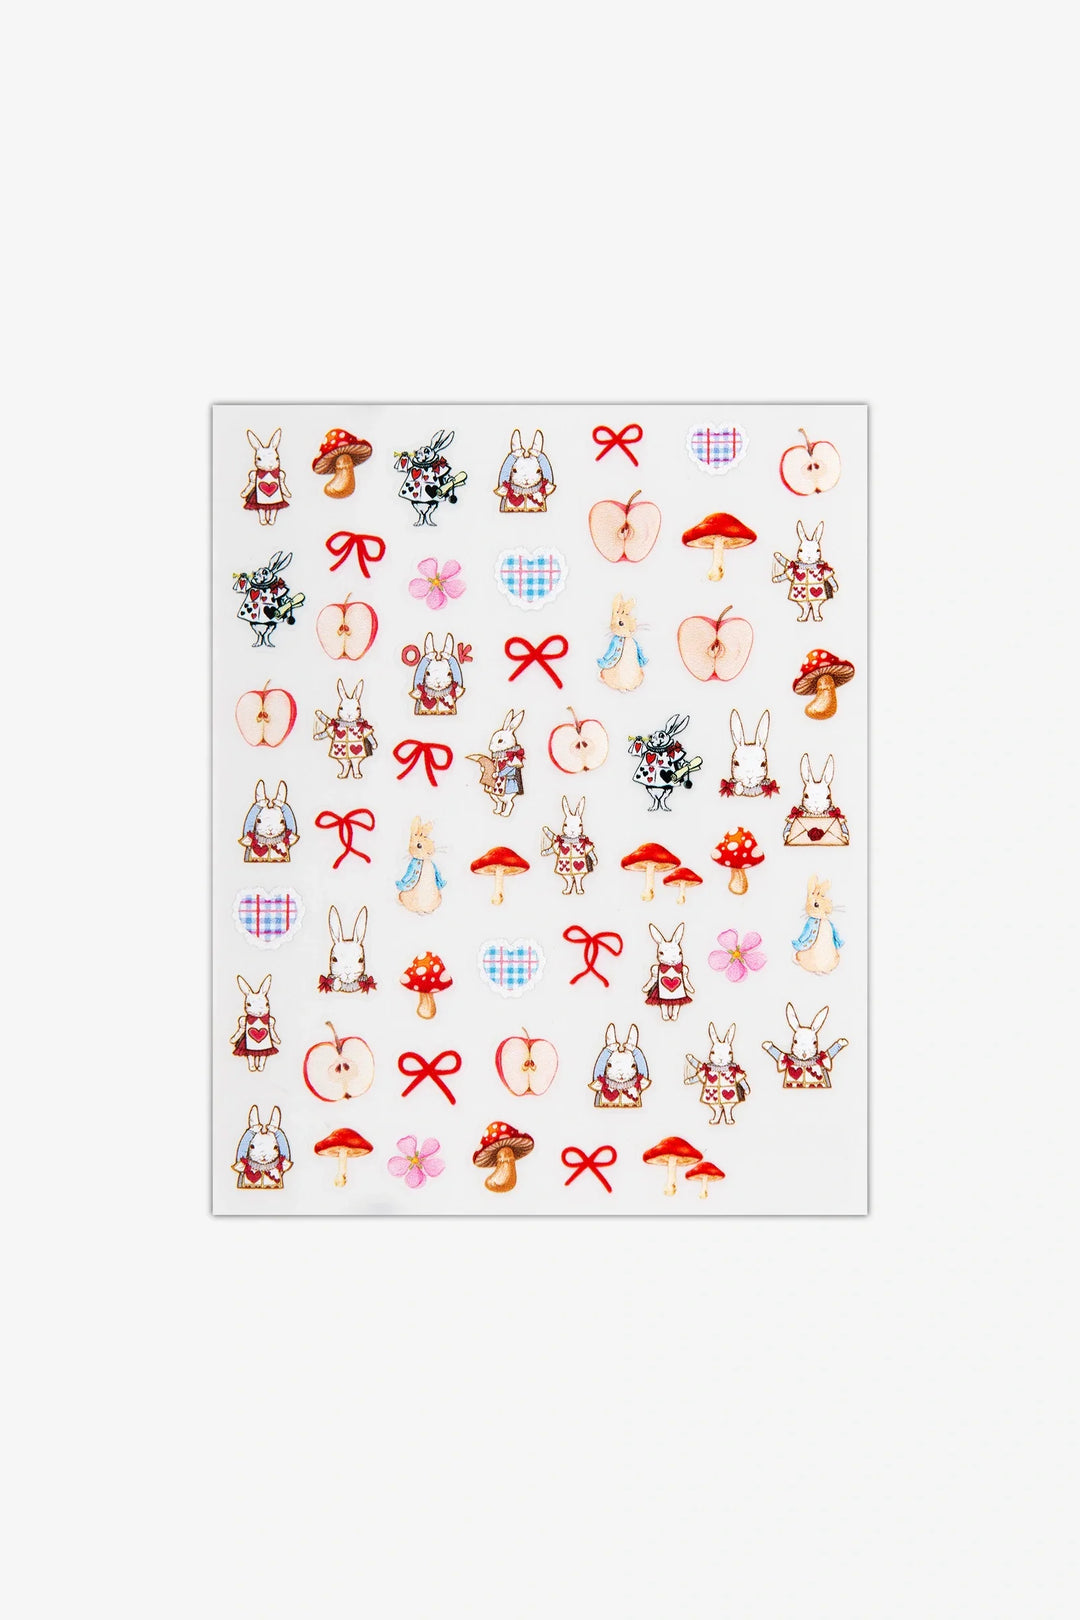
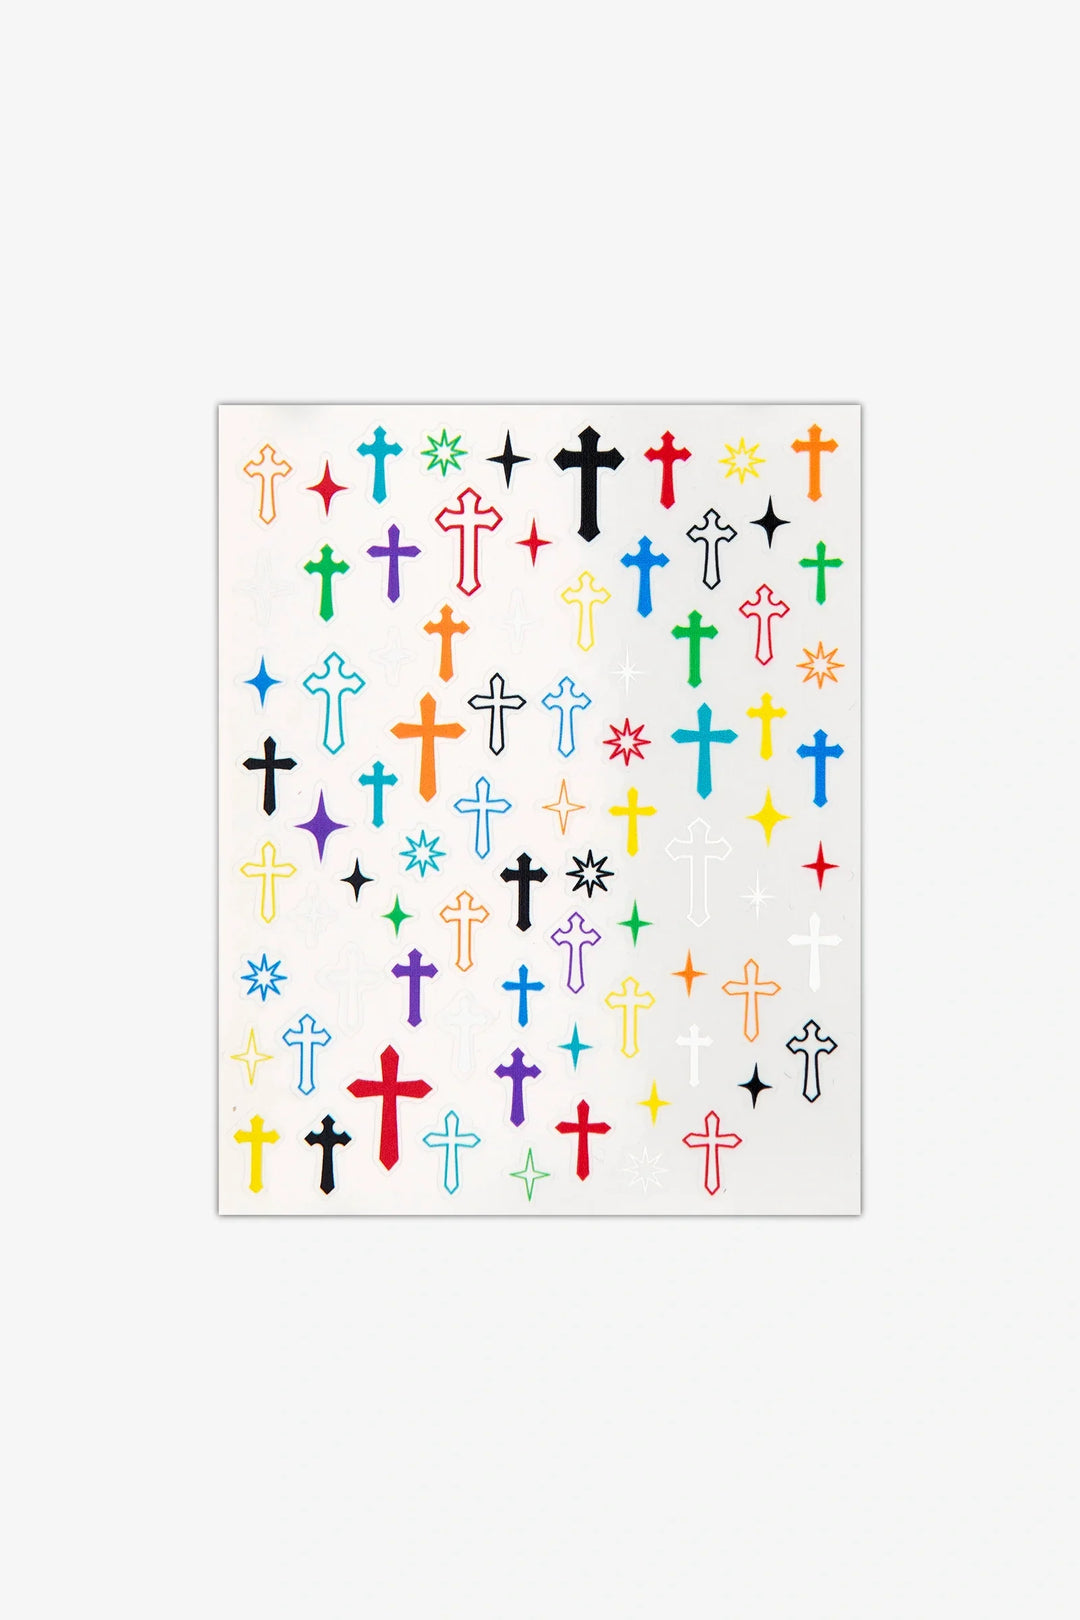
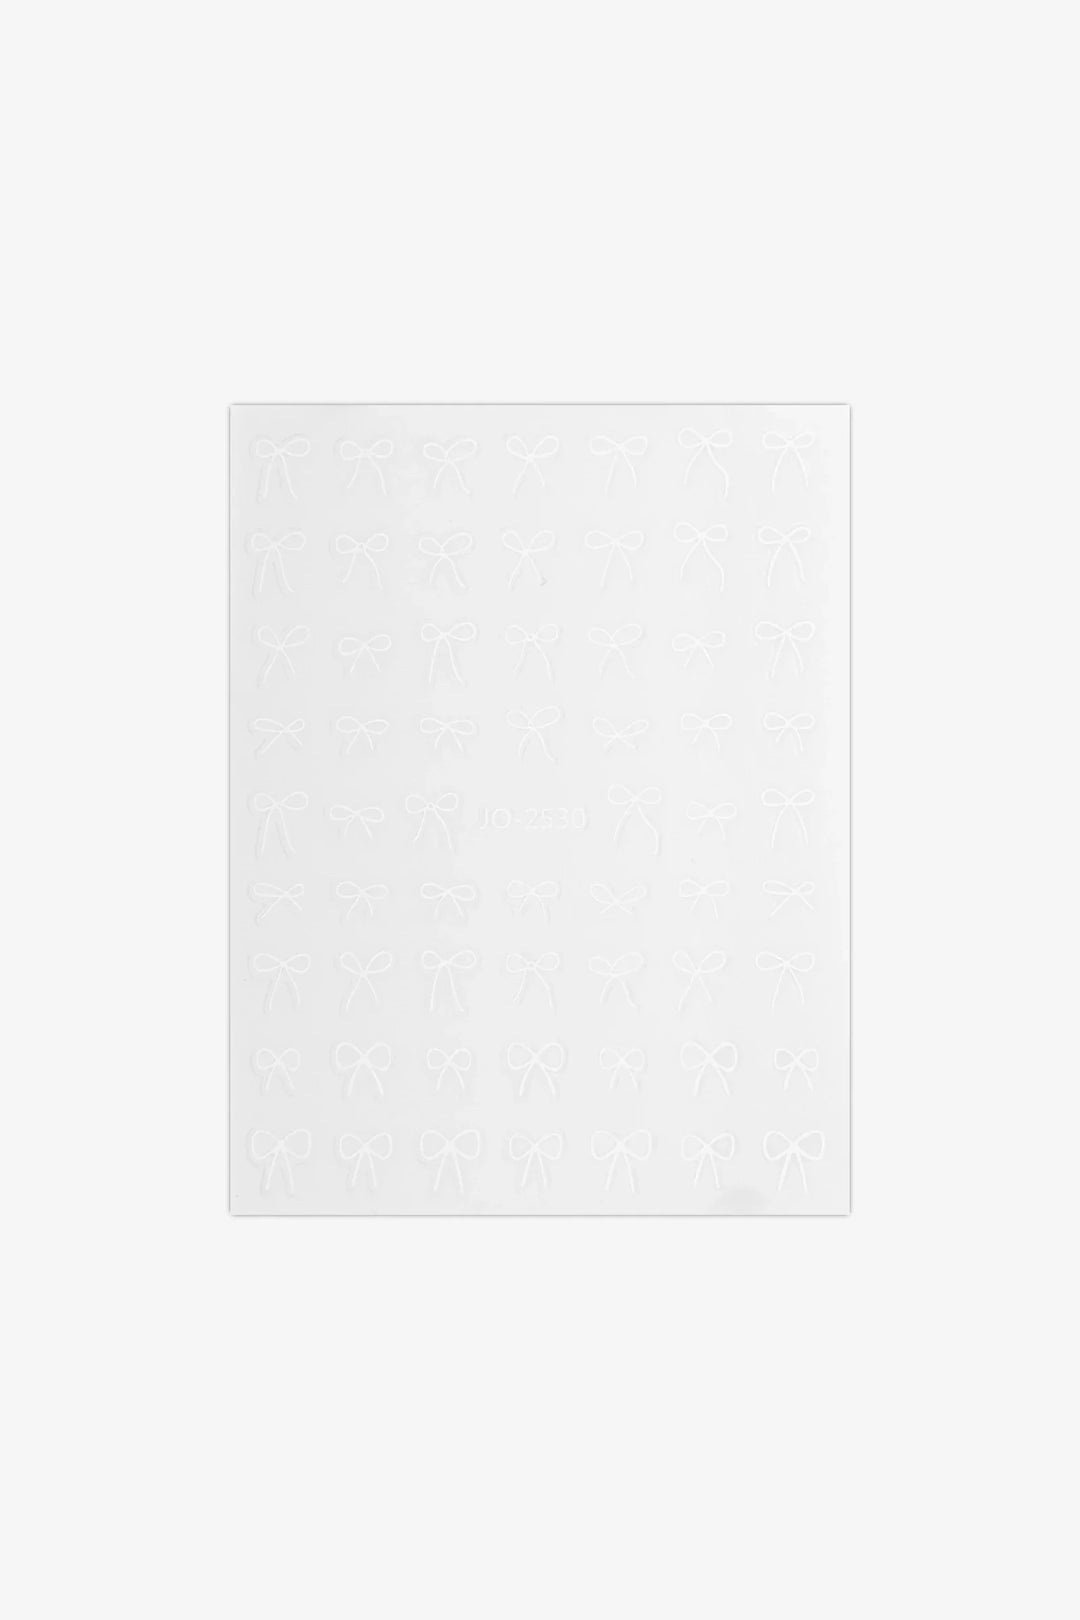
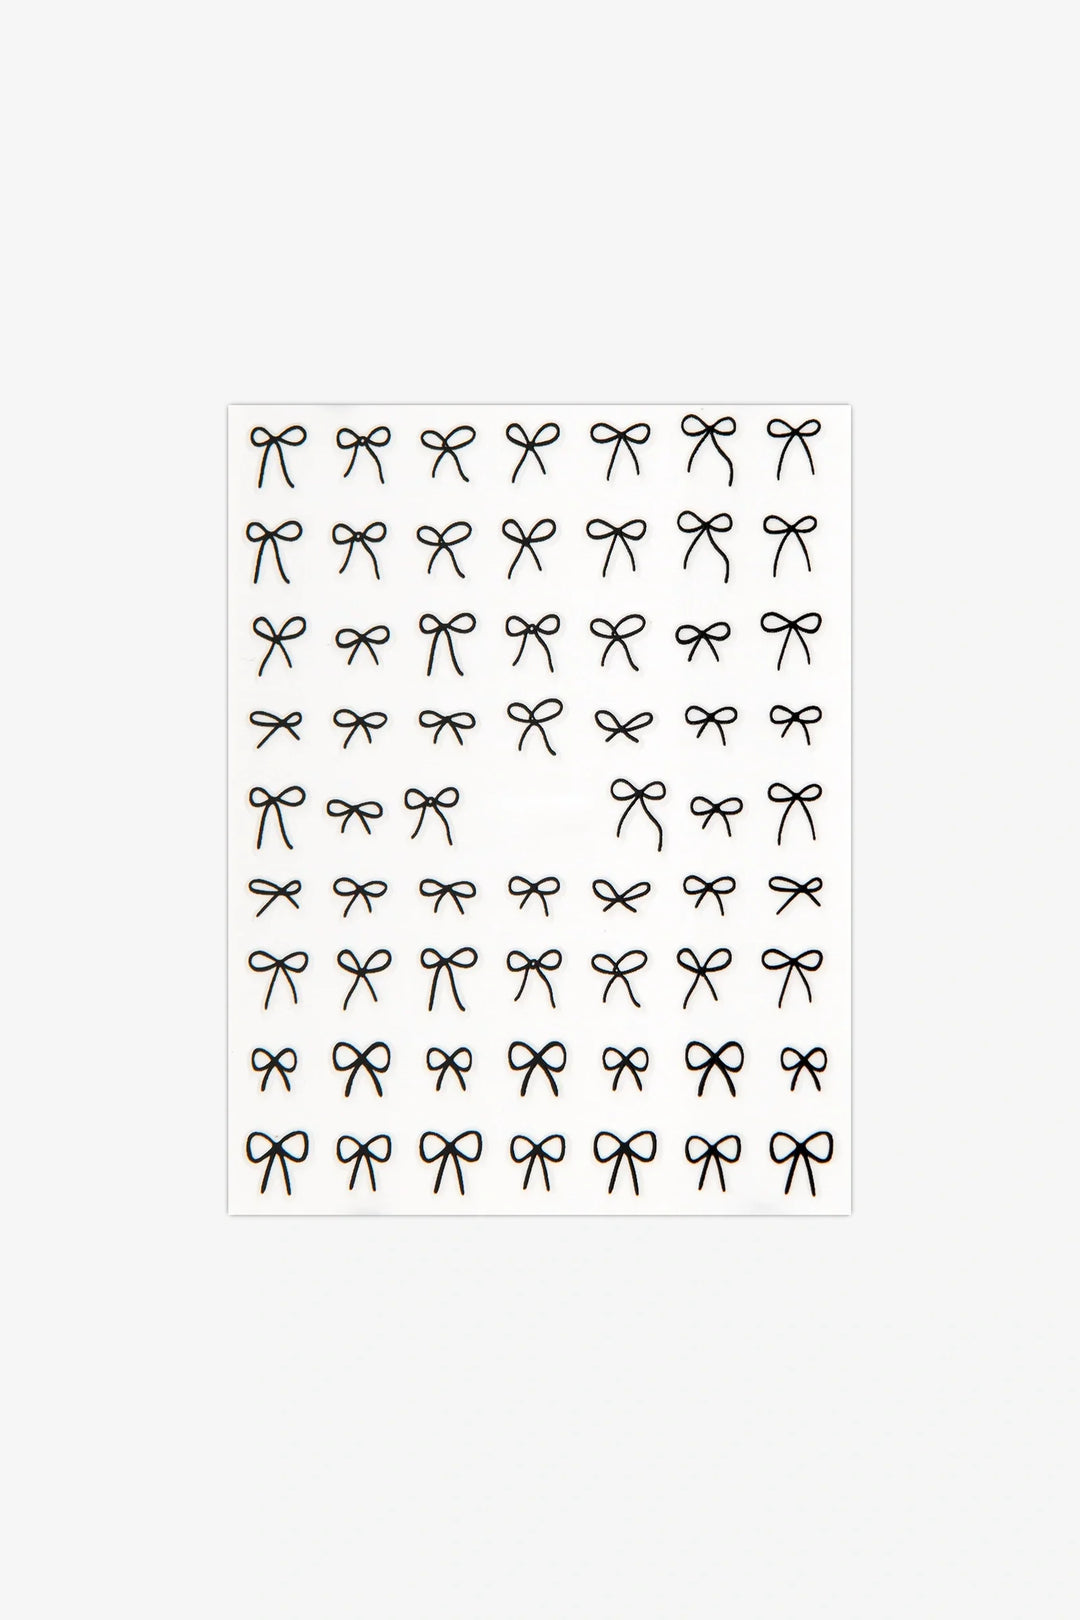
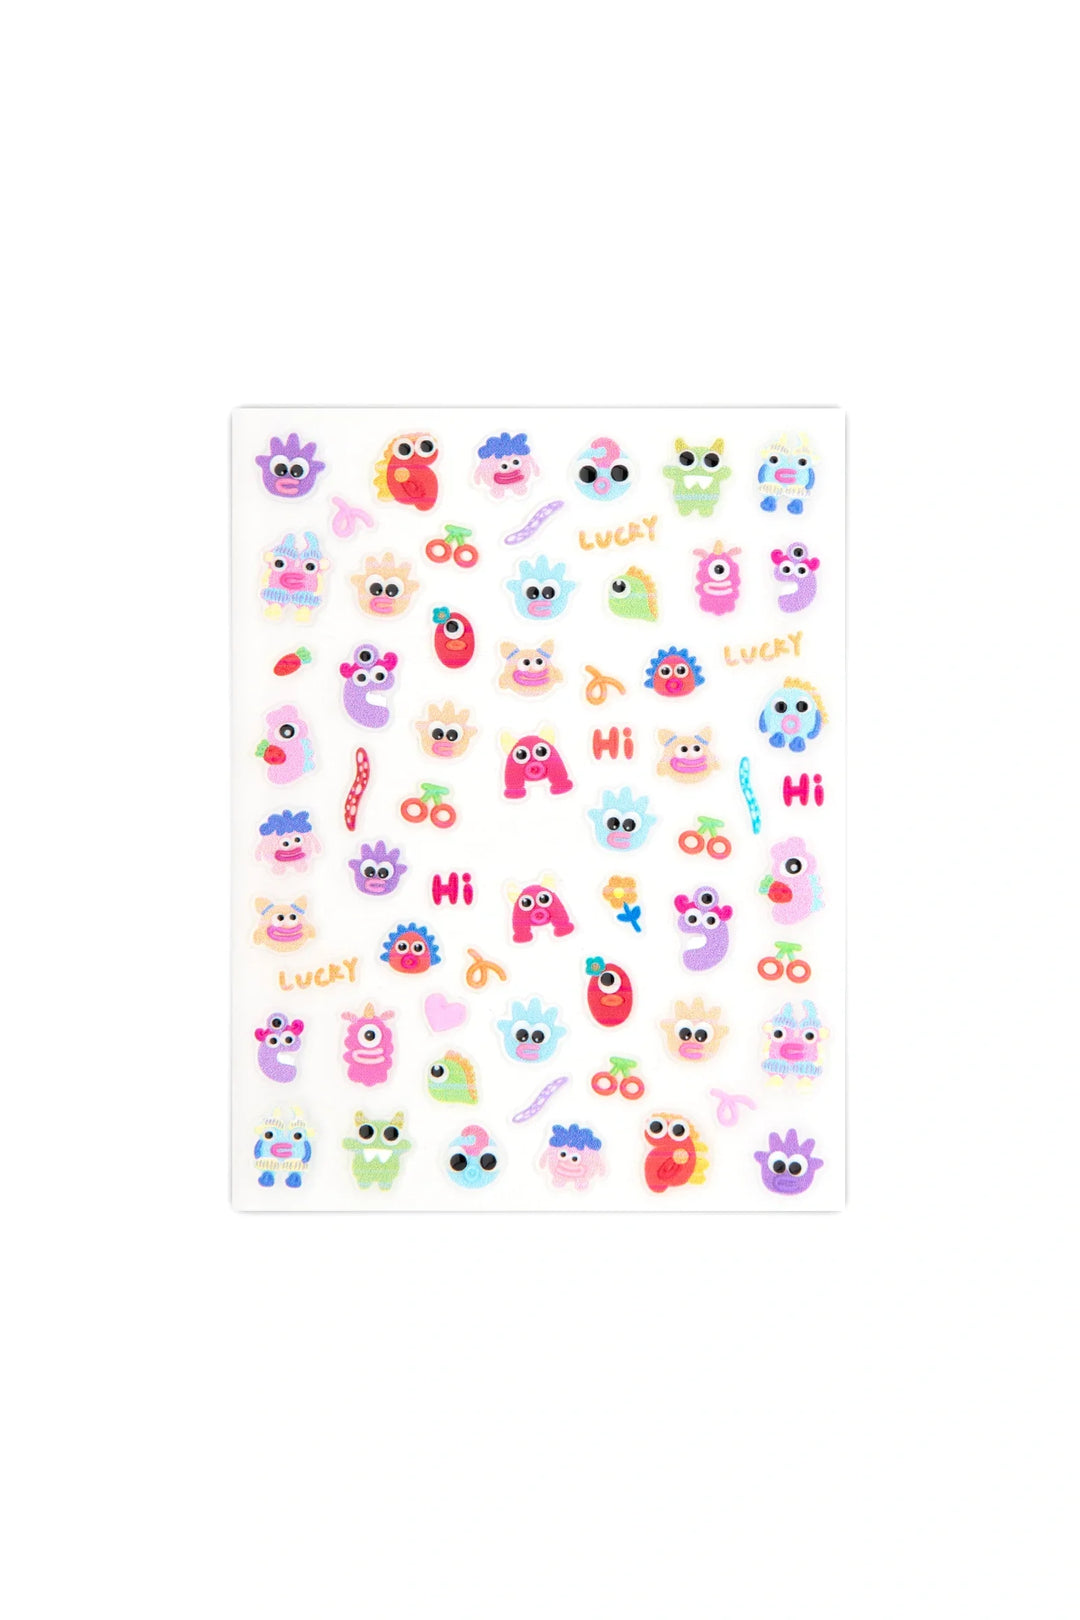
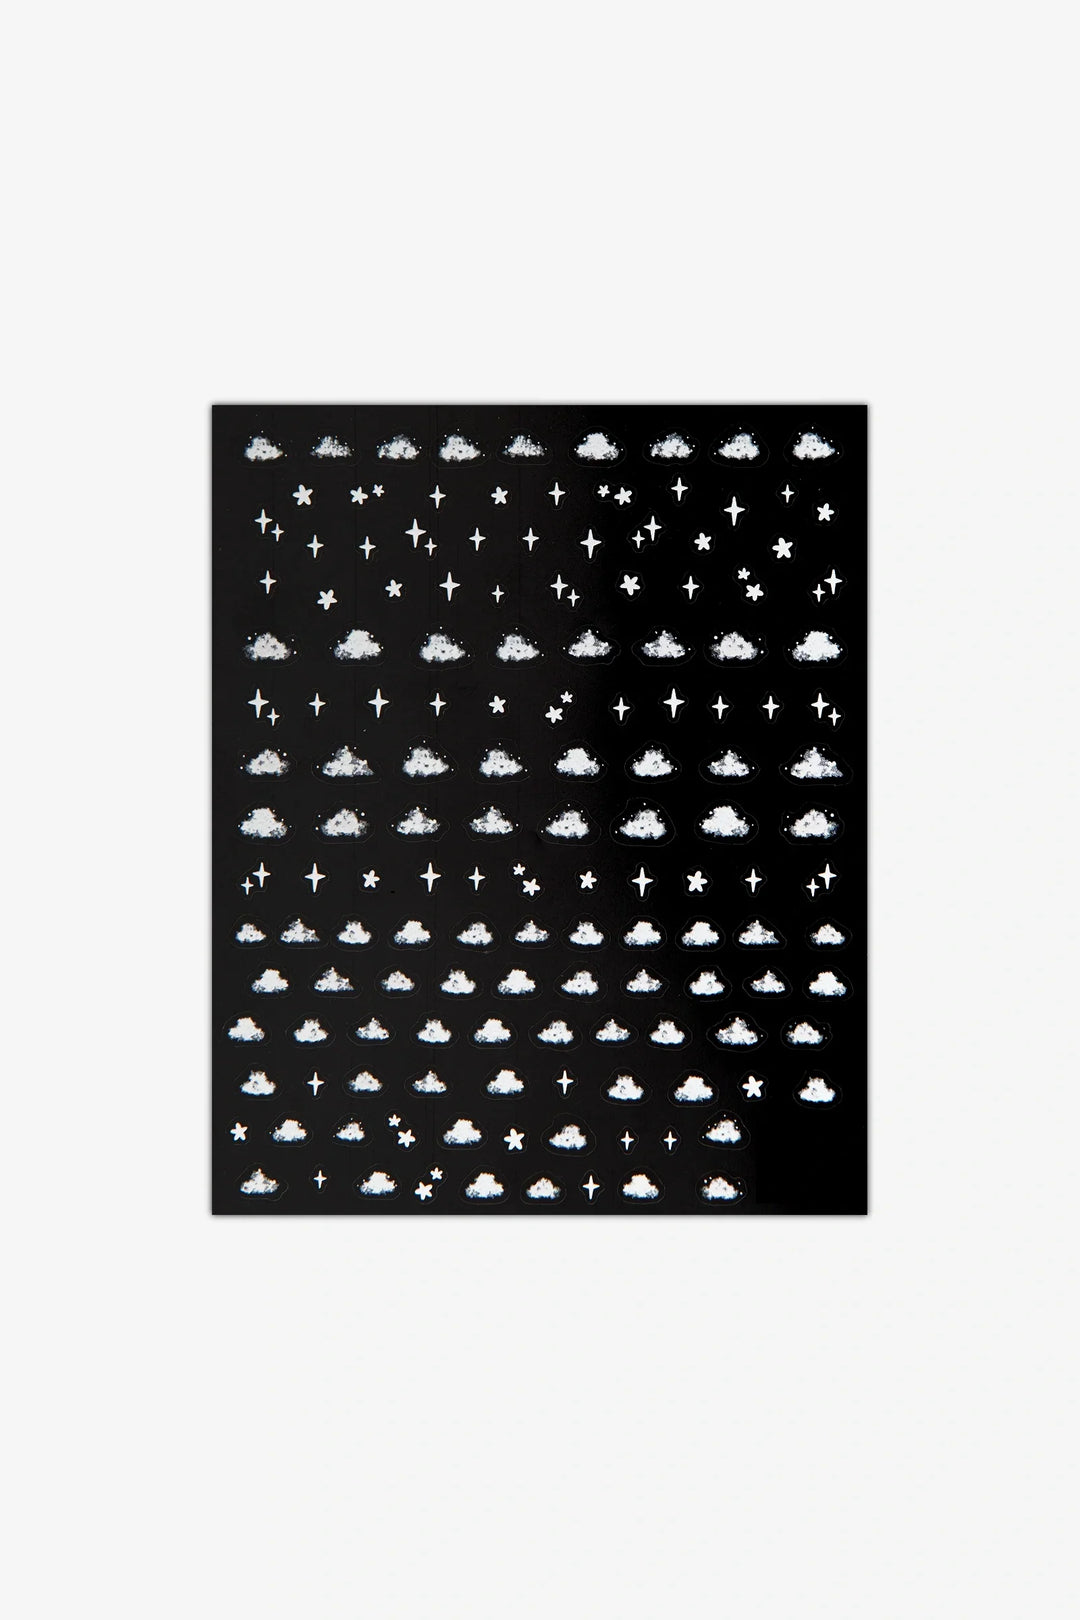
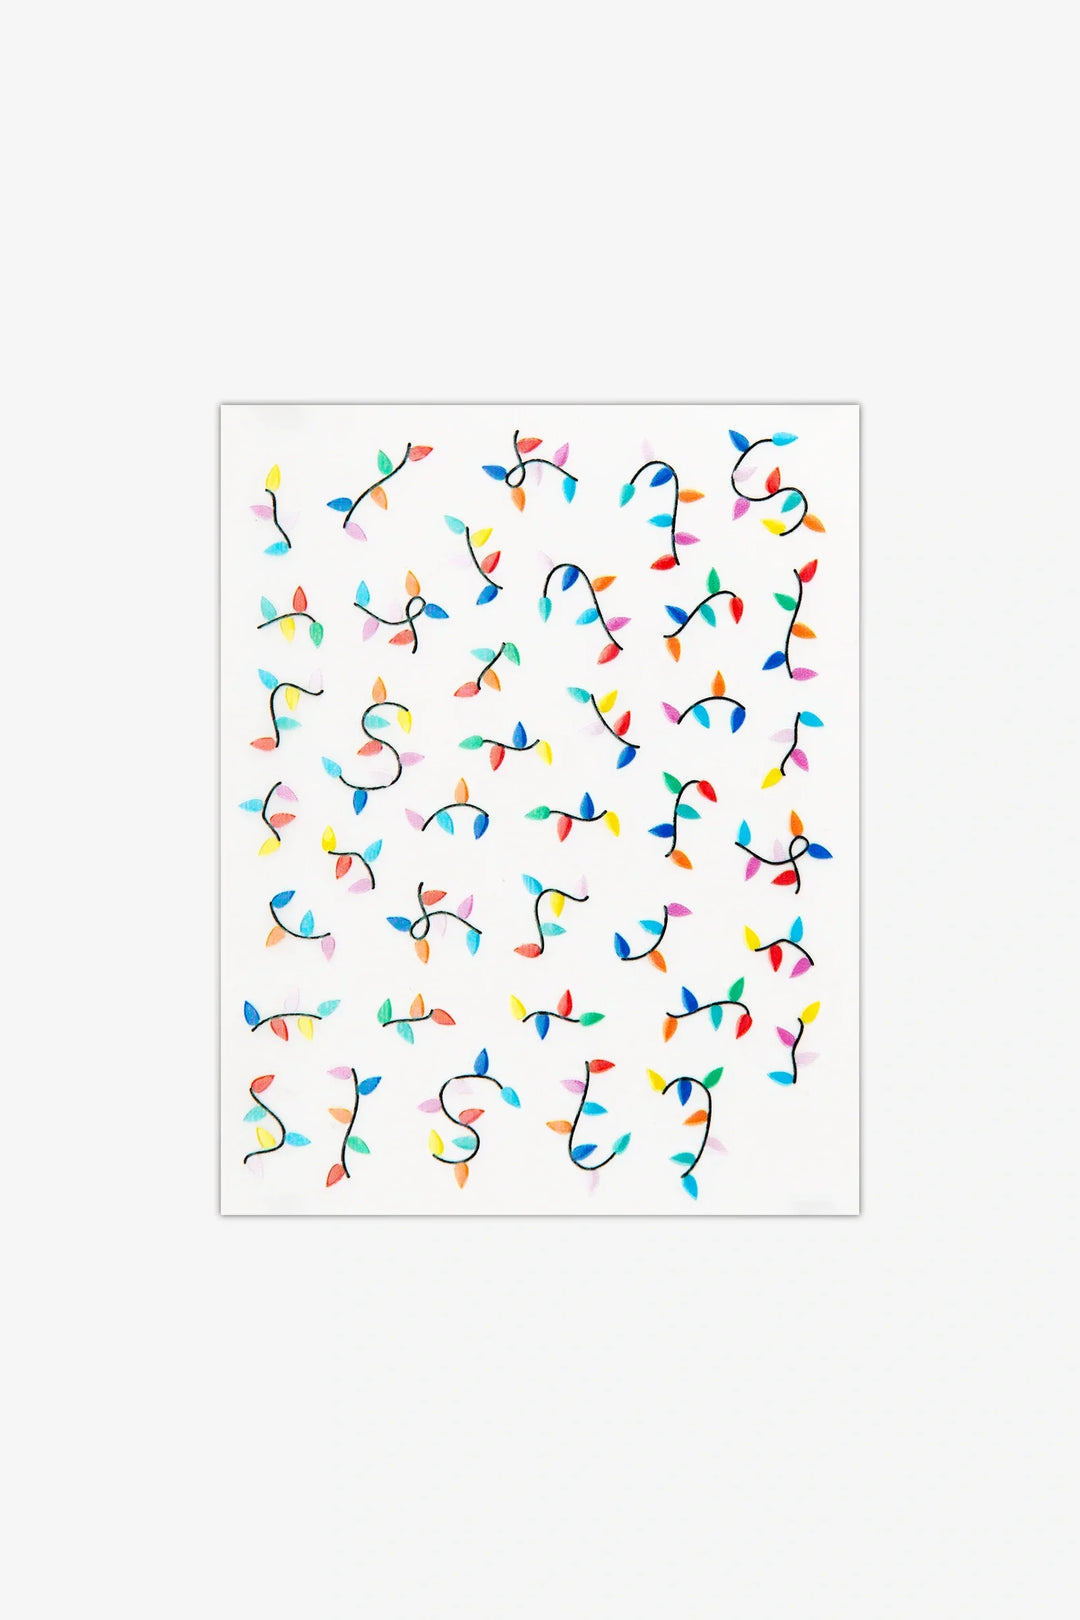
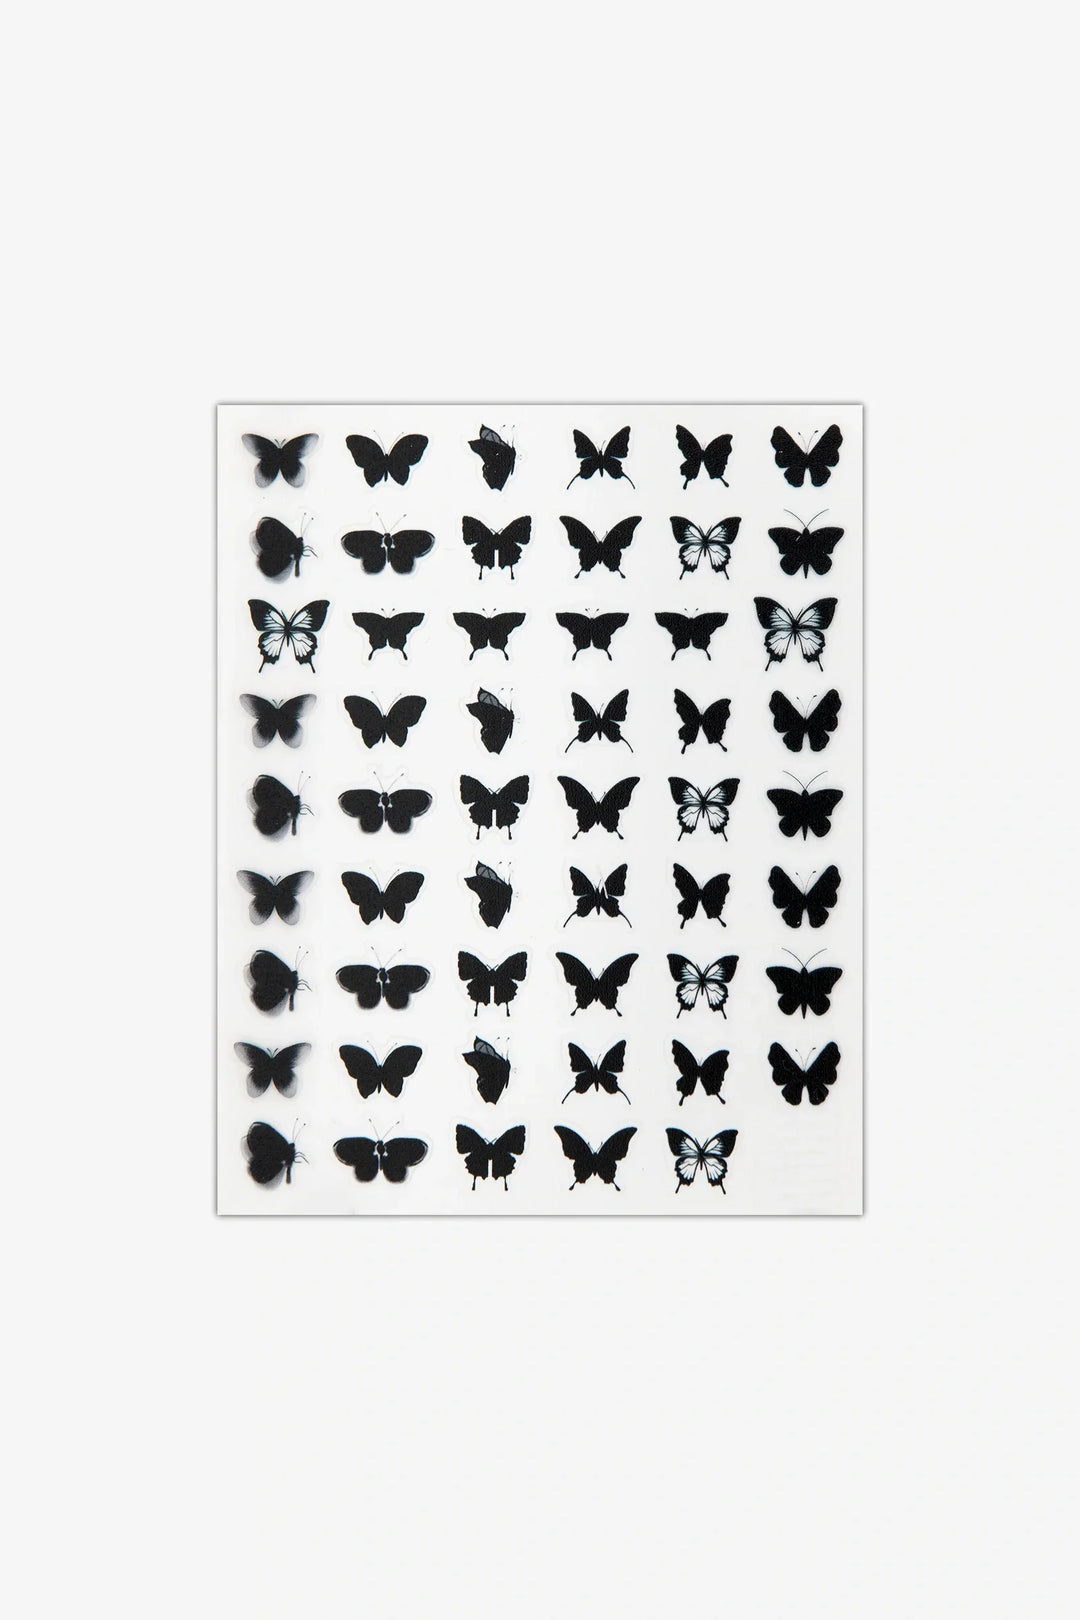
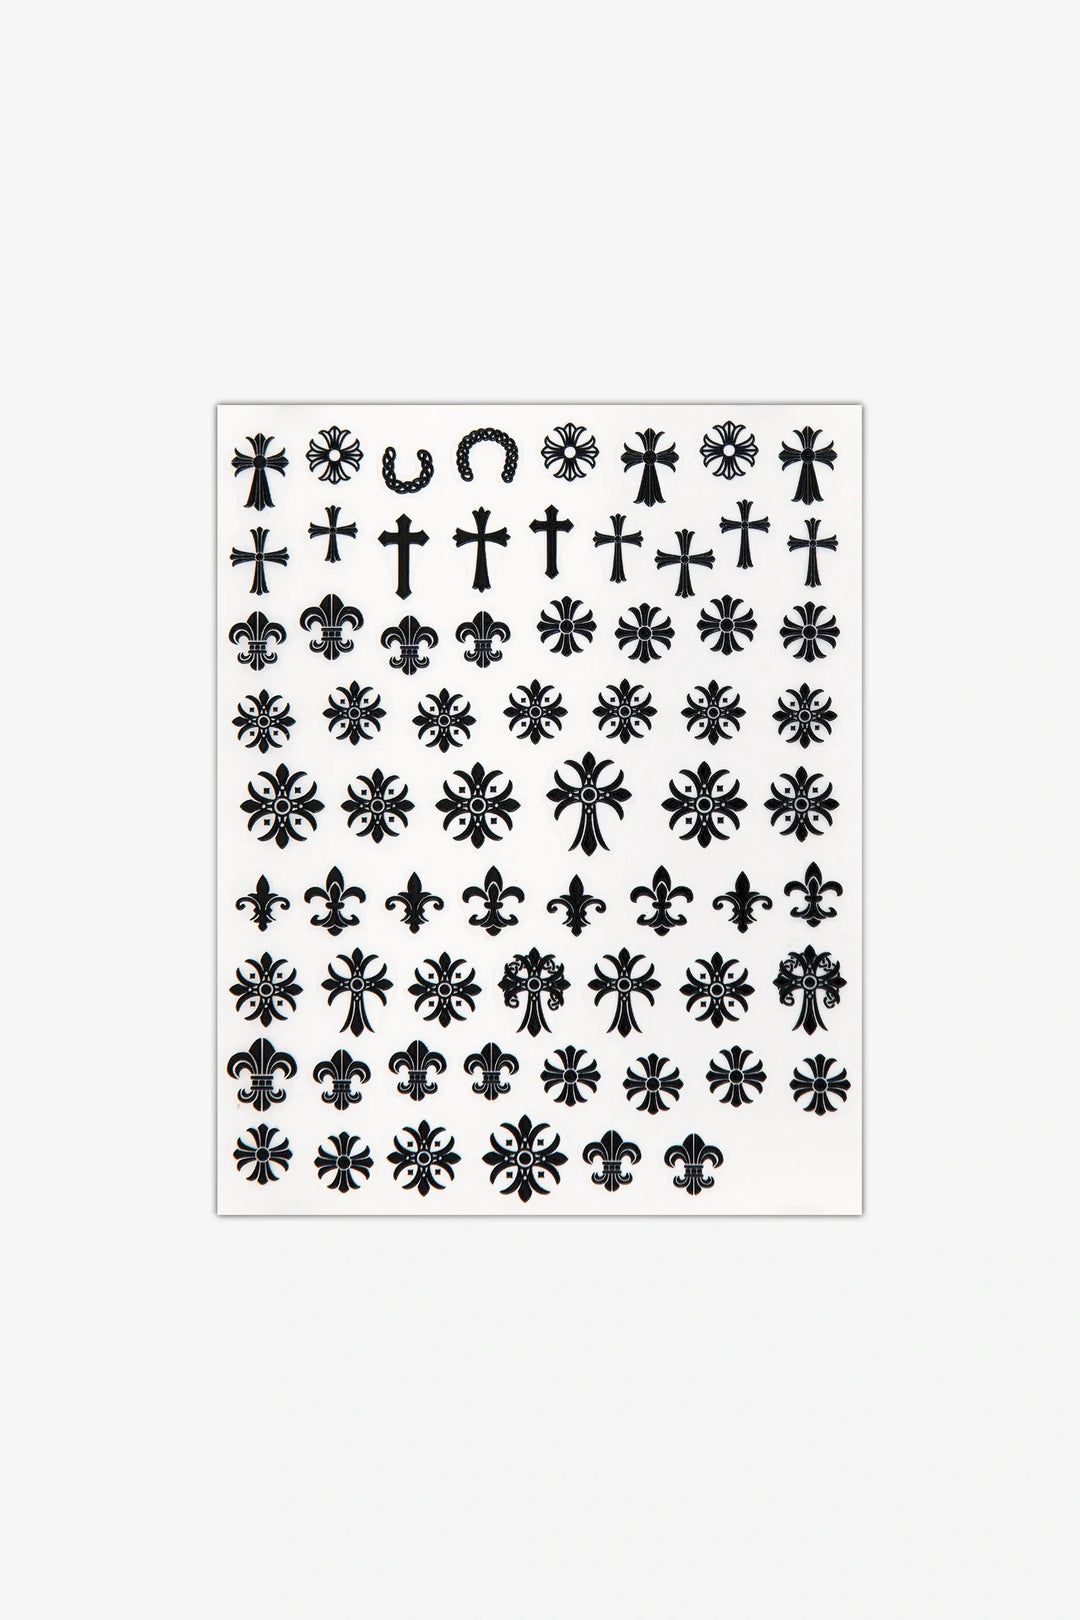
Whether you’re into soft florals, edgy silver hearts, or inky black butterflies, this collection of nail art decals gives you total freedom to play. Add one to a single nail for a subtle accent, or go full themed glam across all ten. Because they apply just like stickers, they’re beginner-friendly, damage-free, and ridiculously fun. You get all the joy of detailed nail art without any of the mess or fuss.
Why You’ll Love Our Nail Art Stickers:
💅 Apply over gel, polish, or bare nails
✨ Just peel and press. No fancy tools needed
⏱ Transform your look in under a minute
🔒 Add a top coat for extra staying power
Not sure where to begin?
Each design includes a “Goes Great With” suggestion to help you pair your nail art decals with matching Gelly wraps, so you’re never short on inspo.
How To Apply Your Nail Art
Our easy-to-apply nail art stickers let you switch up your look in seconds, no tools or salon skills needed. Whether you're feeling bold, elegant, or playful, our range of art decals makes it easy to create a look that's uniquely yours. Here’s how to apply your stickers in just three simple steps:
1

Clean & Dry Your Nails
Start with clean, dry nails. Your nail decals stick best to oil-free surfaces, whether it’s bare nails, polished, or gel.
2


Place Your Nail Sticker
Use tweezers to peel a nail art sticker from the sheet and position it where you want. Adjust as needed.
3


Press To Stick Your Decals
Once in place, press down firmly on the nail decal to make it stick and to remove any air bubbles. Keep your nails dry for the first hour.