Gel Nail Strip Removal Guide

Everything you need to know about removing your Gelly wraps.

Gel Nail Strip Removal Guide

Switching up your look should never damage your nails. Here's how to remove your wraps the right way—quickly, gently, and without the mess.

To make removal easy, we’ve broken the process into simple, skimmable steps:

  • Essentials - Everything you need to prep for a safe, damage-free removal.
  • Remove - Step-by-step instructions for lifting and peeling without harming your natural nails.
  • Tips & Troubleshooting - Got stubborn strips or sticky residue? We’ve got fixes.

Say goodbye to your current set—and hello to your next flawless finish.

Have questions? Browse our Application Guide for prep and application tips, or head to the FAQ for answers to all your Gelly questions.

Gather The Essentials

Before we dive into the removal process, make sure you have everything you need for a smooth, damage-free experience. The right tools make all the difference—helping to loosen the adhesive gently, lift the strips with ease, and leave your natural nails looking as good as new.

Here’s what you’ll need:

Removal Oil

The secret to gentle removal is using the right oil to break down the adhesive. You can use cuticle oil, baby oil, or even household oils like olive or coconut oil. The oil seeps in under the edges, allowing the strips to lift off smoothly.

To make the process easier, precision matters. A targeted applicator helps the oil reach exactly where it's needed, loosening the adhesive without any mess. Unlike droppers or cotton swabs, a bristle tip ensures better control and even distribution.

For best results, we recommend our Gelly Cuticle Oil Pen, a 5ml oil pen designed with a fine bristle applicator for easy access under the stickers. It not only helps your gel strips glide off effortlessly but also nourishes your nails in the process—because strong, healthy nails never go out of style.

Wooden Cuticle Stick

Included in your Gelly box, this handy tool is perfect for gently lifting the strips. A light touch is all you need—no scraping or prying required.

Nail File

Included in your Gelly box, this disposable mini-file is perfect for filing and shaping your nails after you've removed the gel strips.

Alcohol Swab or Tissues

A must-have for keeping the process clean and controlled. Use them to wipe away any leftover adhesive, and leave your nails fresh and ready for their next look.

With these essentials on hand, you’re all set for an easy, stress-free removal process. Now, let’s get started!

Removing Gel Nails Made Effortless

Removing Your Strips

Now that you have everything you need, it’s time to remove your Gelly strips with our recommended oil removal process. Follow these simple steps for gentle, damage-free removal.

Step 1: Apply Cuticle Oil

Generously apply cuticle oil along the base of each nail and use the wooden stick to lift it enough to allow the oil to seep underneath the sticker to break down the adhesive. Let the oil sit for 1-2 minutes to soften the adhesive— a little longer if you've been wearing your set for a while.

Step 2: Gently Lift the Edges

Once the adhesive has softened, use the wooden cuticle stick to gently lift one edge of the gel strip - reapply oil if needed - and using a wiping motion carefully work the sticker free. Work carefully—don't force it! If resistance is high, reapply more oil and wait a few more minutes.

Step 3: Slowly Peel Off the Strip

Continue the wiping motion from one side to the other with the wooden stick until the strip starts to lift easily. Move slowly and evenly to prevent unnecessary stress on your natural nails. Avoid pulling or tugging—let the oil do the work.

Step 4: Wipe for a Clean Finish

Once all strips are removed, wipe away any residual adhesive. If needed, gently wash with warm soapy water to remove any lingering residue, ensuring a smooth and clean surface. Finish with a rich cuticle cream.

The golden rule of gel strip removal? Patience, not pressure. If your strips aren’t budging, don’t force them—it just means they need a little more oil. Apply another drop of cuticle oil, let it soak in, and give it time to work. The oil will do the heavy lifting so your strips slide off effortlessly, leaving your natural nails healthy and ready for their next flawless set.

Common Questions

The entire removal process typically takes around 10 minutes. If your nails have been on for an extended time or feel extra secure, letting the oil sit for a few extra minutes will make the process even easier. The key is patience—rushing or forcing removal can stress your natural nails, so take your time and let the oil do the work.

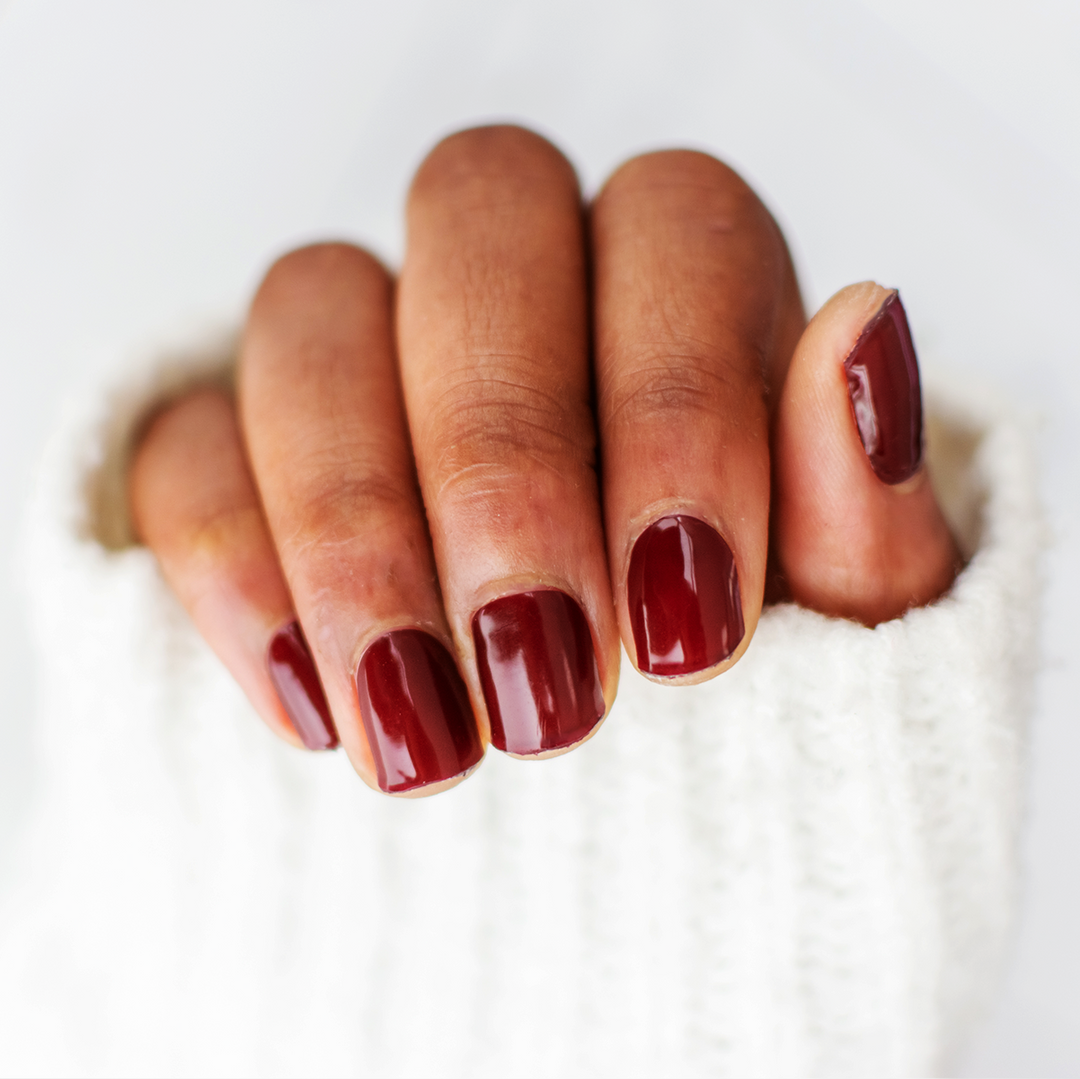
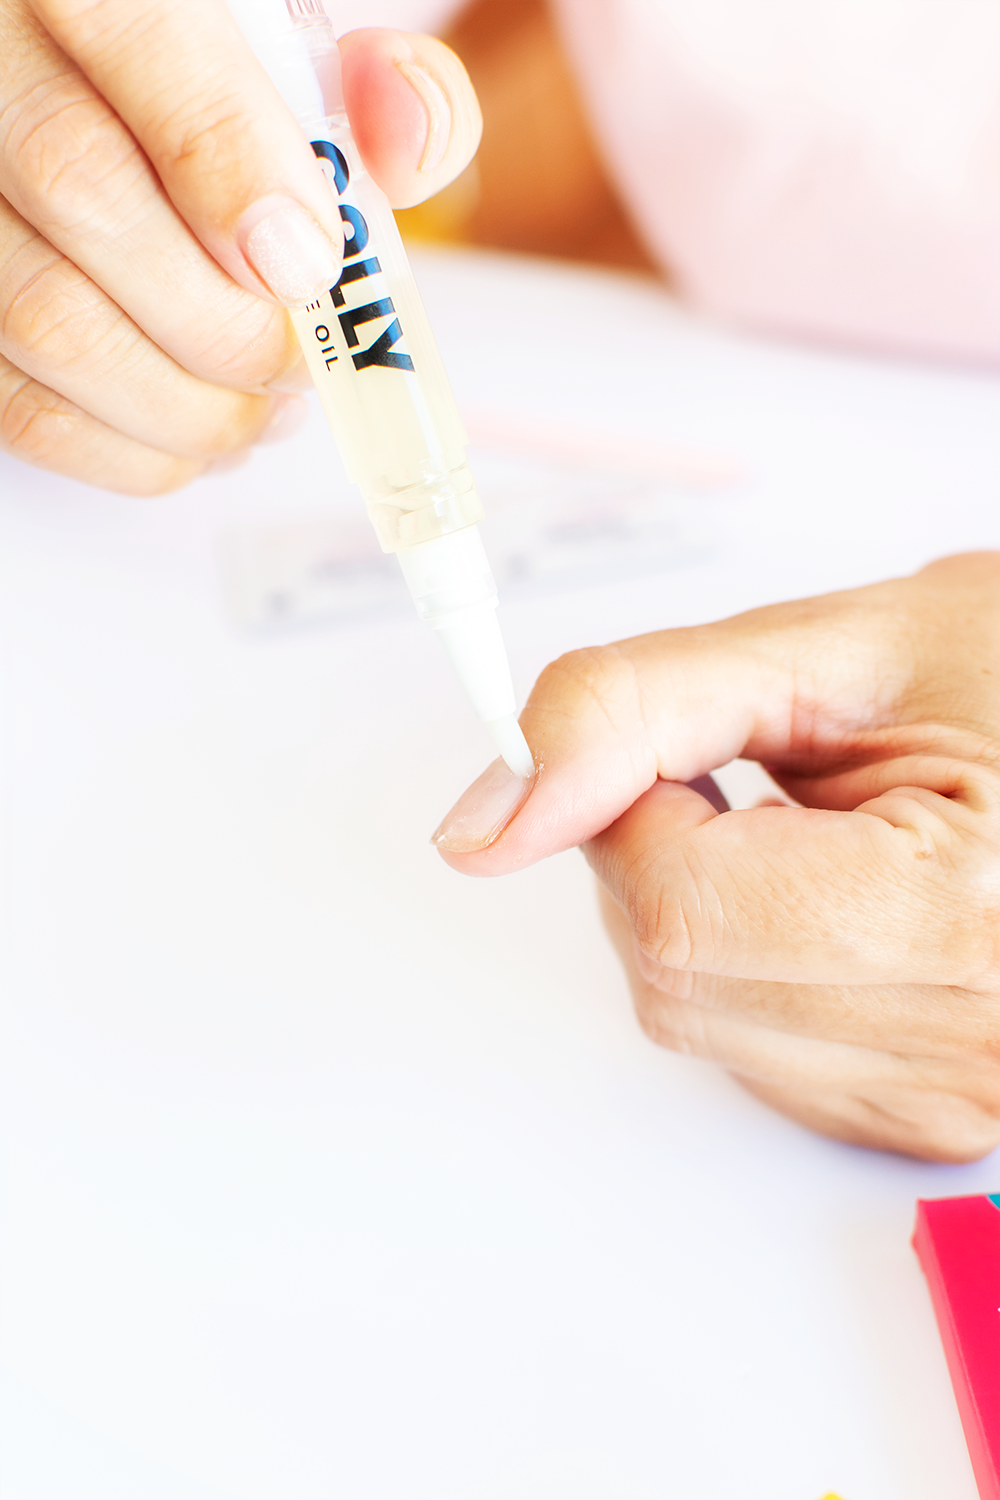
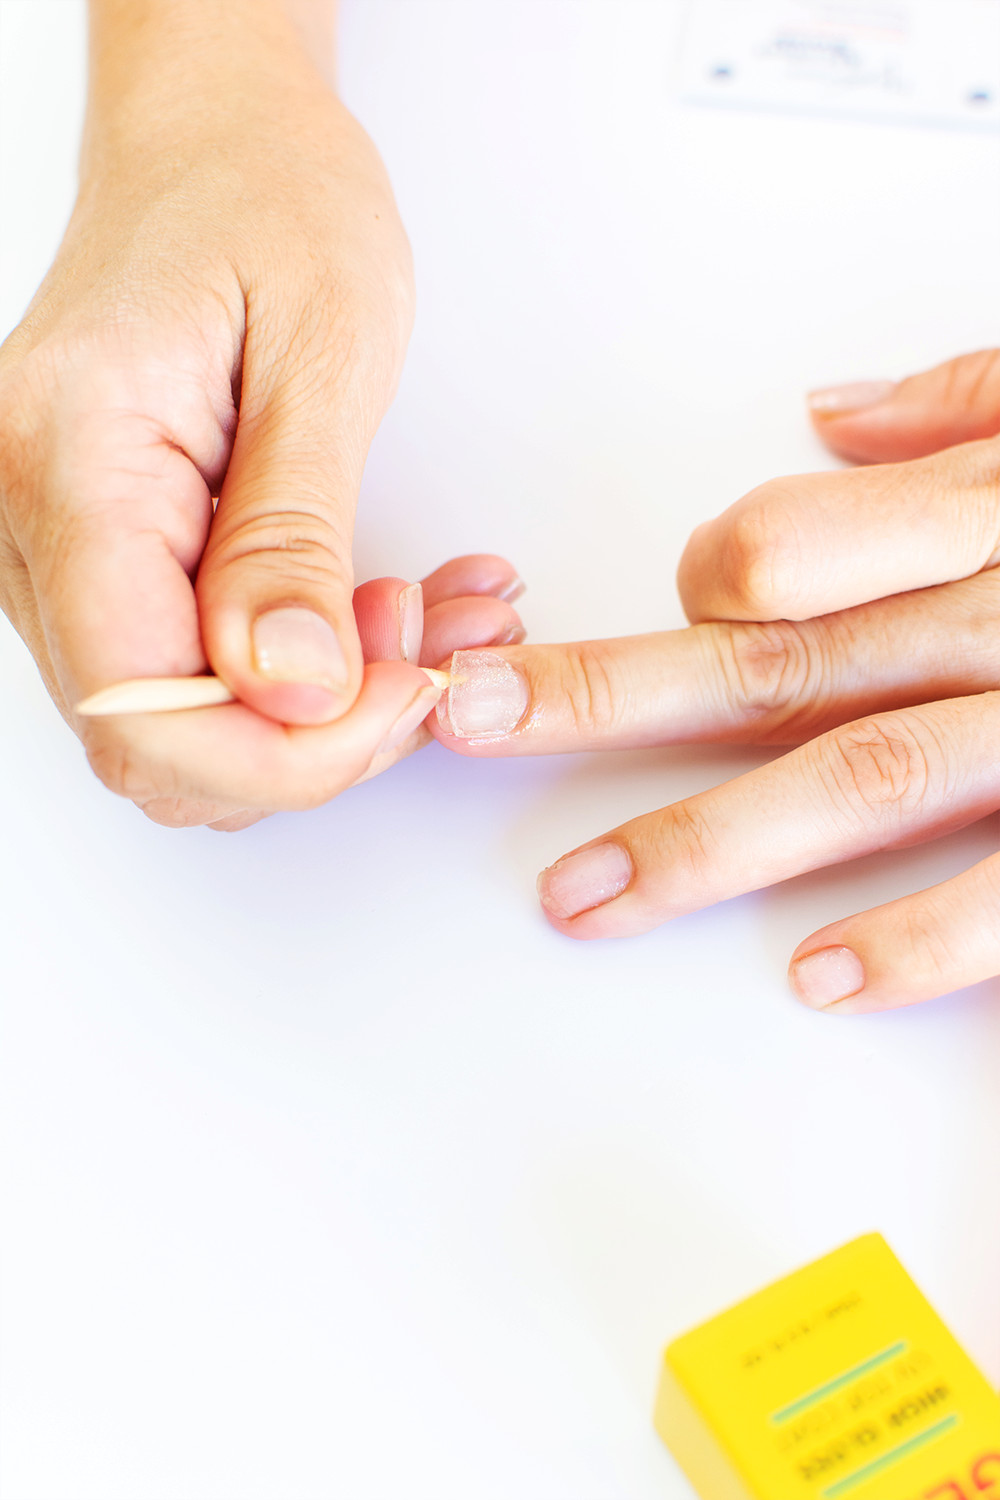
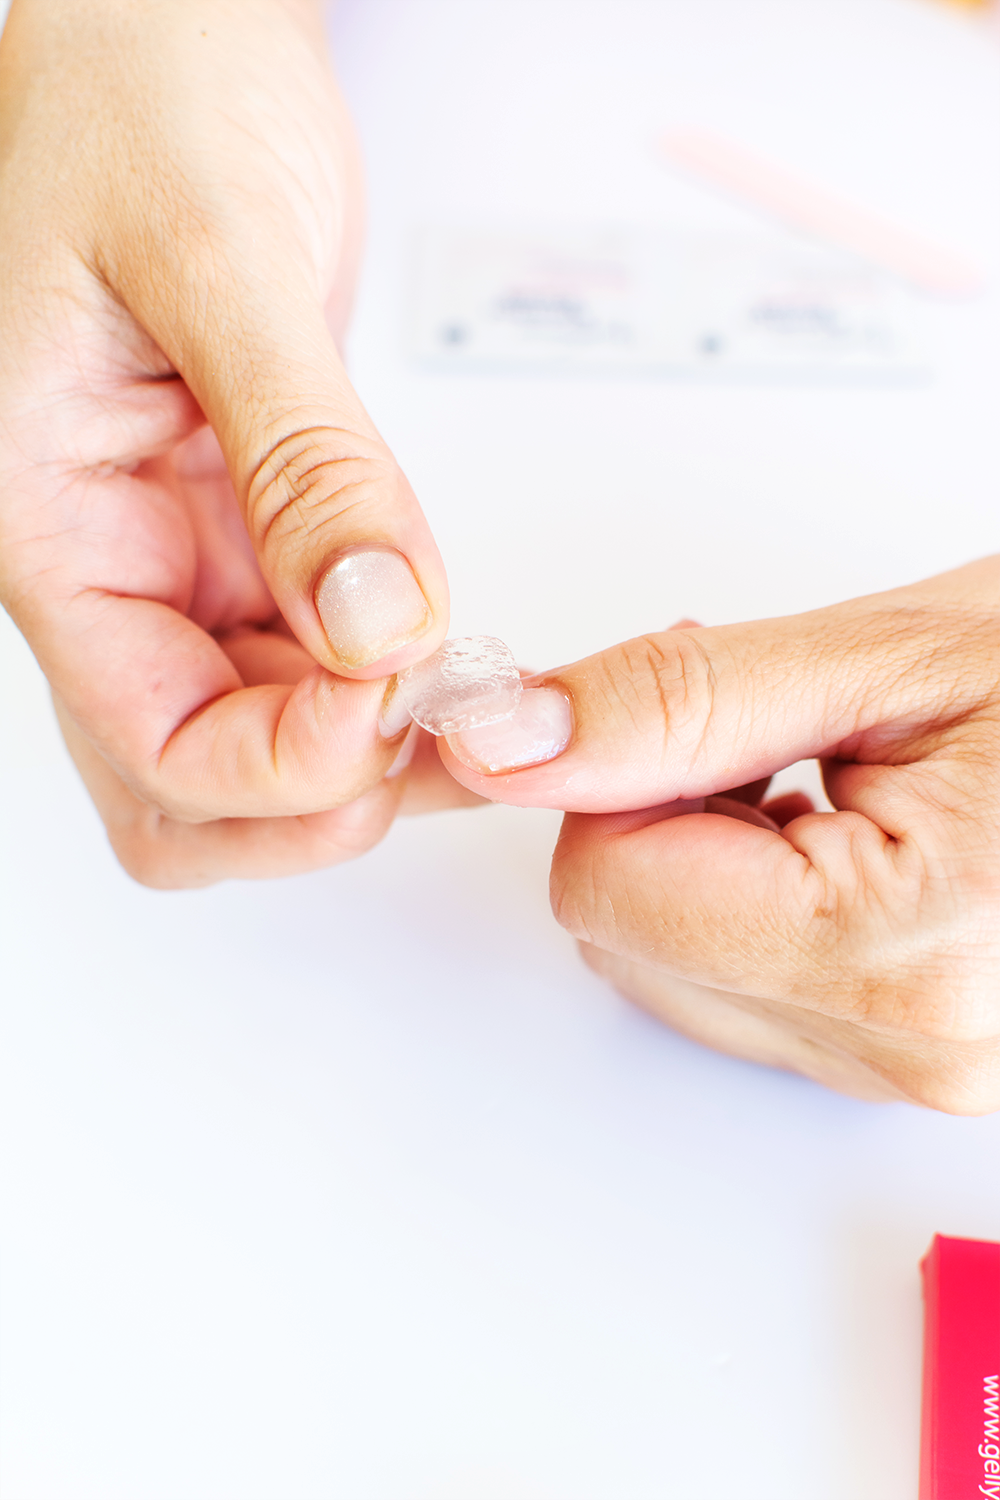
A little goes a long way, but don’t be afraid to be generous. Start by applying a drop along the edges of each nail, allowing it to seep underneath the gel strip. If the strip isn’t lifting easily after a few minutes, add another drop and let it sit longer. For extra stubborn strips, you can soak a cotton pad in oil, press it onto the nail for a minute or two, and then continue with removal.

For the easiest, mess-free application, try our large 5ml Cuticle Oil Pen. Designed with a precision tip, it delivers just the right amount of oil exactly where you need it—without any drips or waste. It’s perfect for keeping your nails hydrated and making removal a breeze.

Tips & Troubleshooting

Even with the gentlest removal process, sometimes you might run into issues like stubborn strips that won’t budge, leftover adhesive, or minor nail sensitivity. Here’s how to handle common removal challenges while keeping your natural nails healthy and strong.

Troubleshooting

First off, congratulations on applying your strips so well! 😊 If they’re not budging, don’t stress—the golden rule is never force them off. Instead, apply more removal oil, focusing on the edges, and let it sit for a few minutes while you browse your next wrap. If you’re using a precision applicator like our large Gelly Cuticle Oil Pen, gently dab the oil where the strip meets the nail plate for better penetration.

Use your cuticle stick to gently ease them off, working slowly and never peeling or tugging.

Pro tip: Saturate the tip of your wooden cuticle stick in oil before using it. This helps the oil get right between your nail and the gel strip, making removal even smoother.

No worries—a quick cleanup will leave your nails looking fresh and smooth! Simply rub a cotton pad soaked in cuticle oil over your nails to dissolve any lingering adhesive without drying them out. If a little residue remains, gently buff it away with your nail file. Remember to keep the buffing light—over-filing can weaken your nails. A few soft strokes are all you need for a clean finish.

Our Gelly strips are designed to be gentle, but if your nails feel dry or a little sensitive afterward, a bit of nail TLC will bring them back to life. Start by massaging a few drops of cuticle oil into your nails to restore moisture and strengthen them. If they feel soft or slightly weak, give them a day or two to breathe before applying a new set.

For extra hydration, our Gelly Cuticle Butter provides deep nourishment, keeping your nails and cuticles healthy. The airless pump bottle ensures a mess-free application, making it easy to restore moisture without any fuss.

Have More Questions?

Check out our FAQ section for answers on application, removal, shipping, returns, and everything in between.

Ready for Your Next Stunning Set!

Now that your nails are fresh and ready, it’s time for the fun part—choosing your next look! Whether you're into bold designs, timeless classics, or something completely unique, we’ve got a Gelly wrap waiting for you.

Shop now and explore our latest collections. Then head over to our How to Apply guide for the perfect step-by-step application tips to get that flawless, salon-quality gel finish—right at home.

Salon-Quality Gel Mani in 30 Minutes!

No mess, no salon visits, no waiting. Just peel, apply, and cure.