Everything you need to know about removing your Gelly wraps.


Gel Nail Strip Removal Guide
Switching up your look shouldn’t come at the cost of healthy nails. Here’s how to remove your Gelly strips the right way: quickly, gently, and mess-free.
We’ve split our guide in three sections:
- Essentials – Everything you need for safe and damage-free removal
- Remove – Step-by-step instructions for a smooth and stress-free peel
- Q&A – Common removal questions answered
Out with the old. Your next flawless Gelly wraps are just a few steps away.
Not finding what you're looking for? Browse our Application Guide for prep and application tips, or head to the FAQ for answers to all your Gelly questions.
Gather The Essentials
Before we dive into the removal process, make sure you have everything you need for a smooth, damage-free experience. The right tools make all the difference—helping to loosen the adhesive gently, lift the strips with ease, and leave your natural nails looking as good as new.
Here’s what you’ll need:
Removal Oil
The secret to gentle removal is using the right oil to break down the adhesive. You can use cuticle oil, baby oil, or even household oils like olive or coconut oil. The oil seeps in under the edges, allowing the strips to lift off smoothly.
To make the process easier, precision matters. A targeted applicator helps the oil reach exactly where it's needed, loosening the adhesive without any mess. Unlike droppers or cotton swabs, a bristle tip ensures better control and even distribution.
For best results, we recommend our Gelly Cuticle Oil Pen, a 5ml oil pen designed with a fine bristle applicator for easy access under the stickers. It not only helps your gel strips glide off effortlessly but also nourishes your nails in the process—because strong, healthy nails never go out of style.


Wooden Cuticle Stick
Included in your Gelly box, this handy tool is perfect for gently lifting the strips. A light touch is all you need—no scraping or prying required.
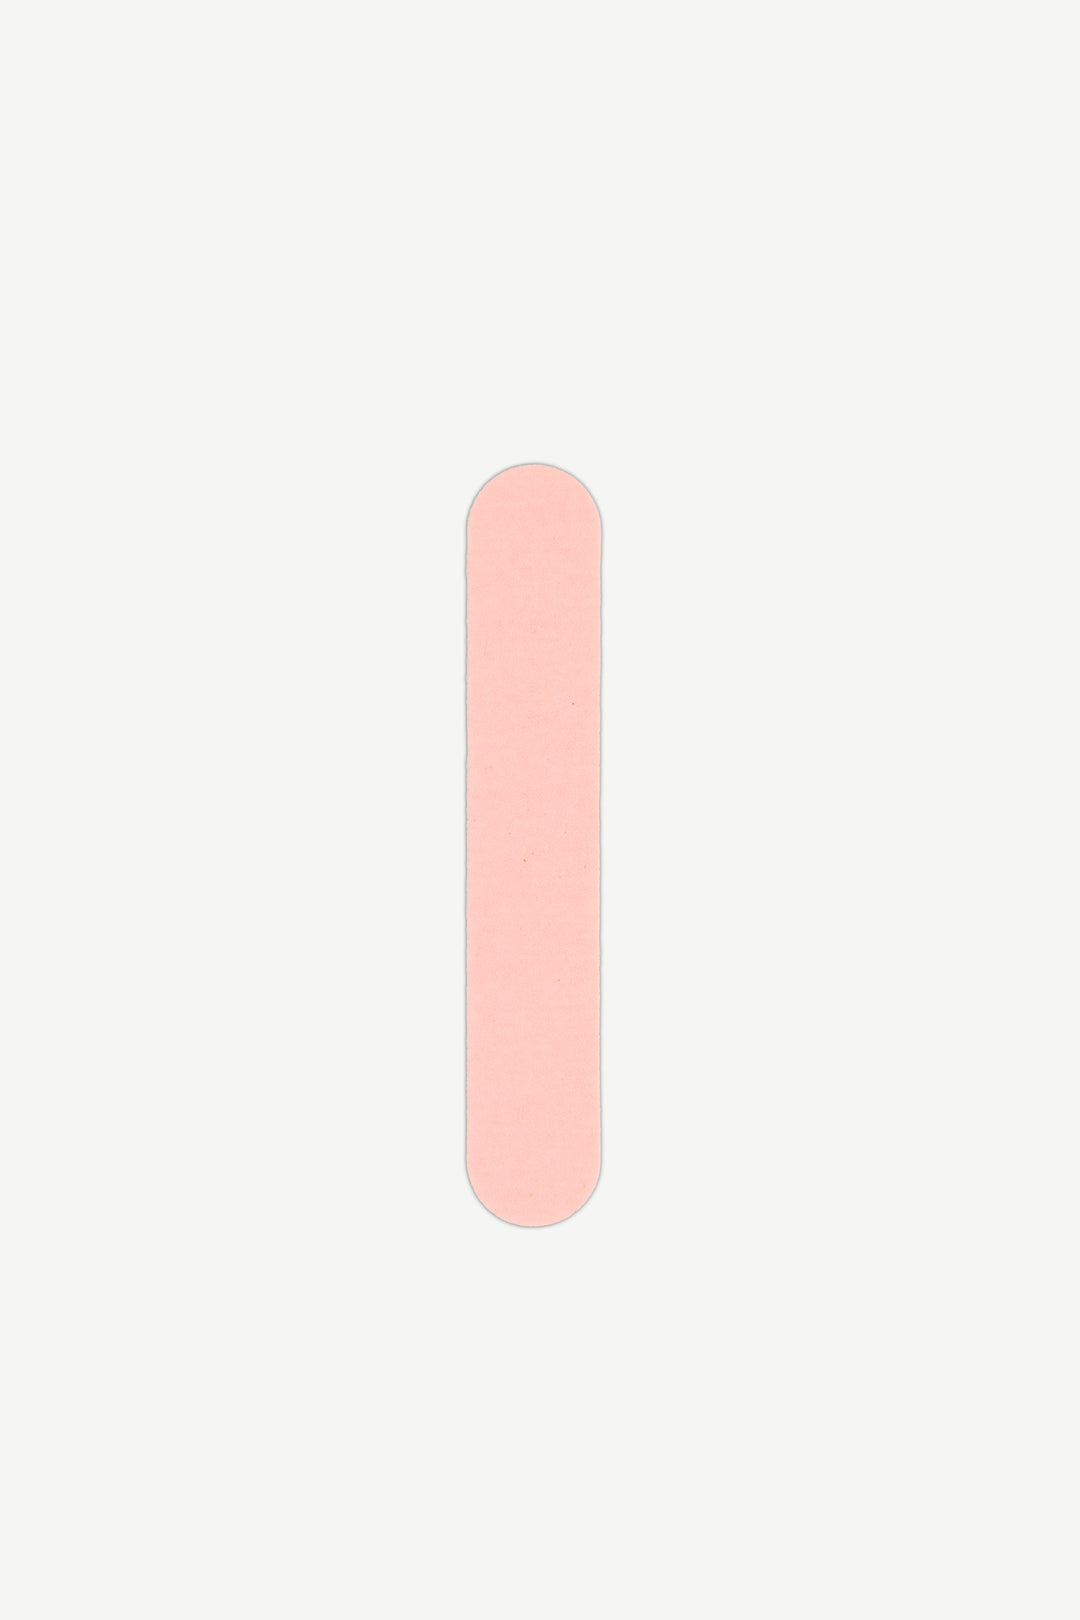
Nail File
Included in your Gelly box, this disposable mini-file is perfect for filing and shaping your nails after you've removed the gel strips.
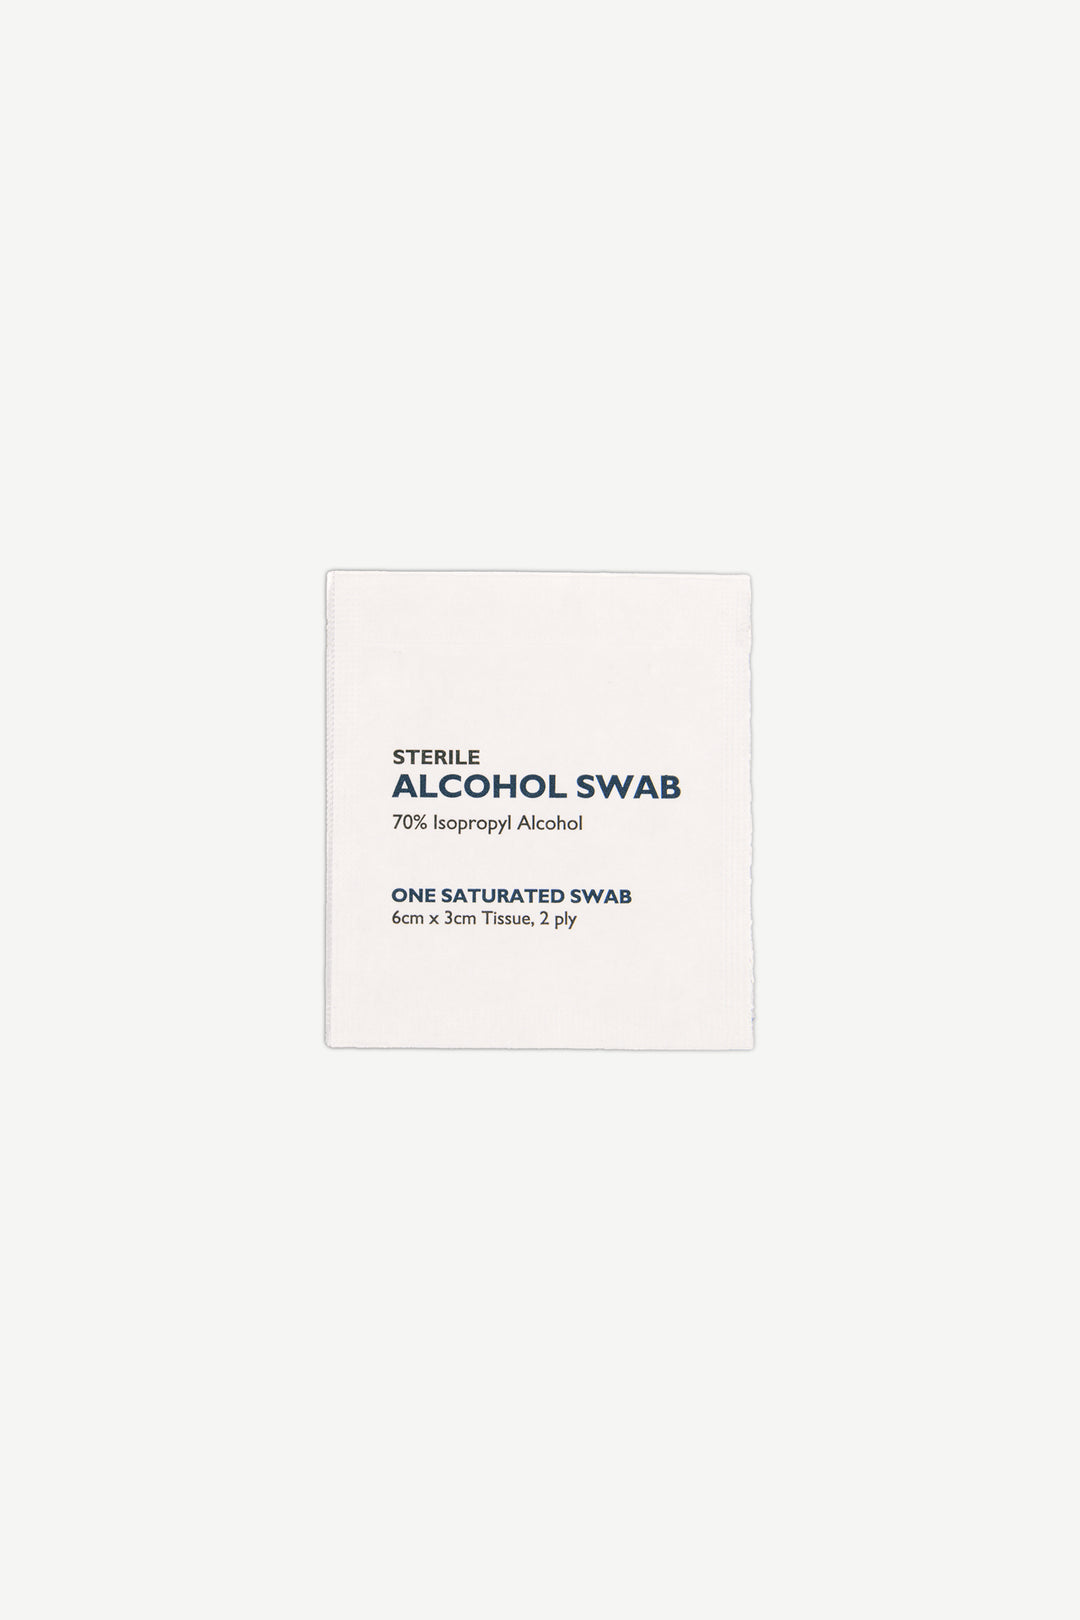
Alcohol Swab or Tissues
A must-have for keeping the process clean and controlled. Use them to wipe away any leftover adhesive, and leave your nails fresh and ready for their next look.
With these essentials on hand, you’re all set for an easy, stress-free removal process. Now, let’s get started!
Removing Gel Nails Made Easy
Removing Gel Nails Made Easy
Removing Your Strips
Now that you have everything you need, it’s time to remove your Gelly strips with our recommended oil removal process. Follow these simple steps for gentle, damage-free removal.
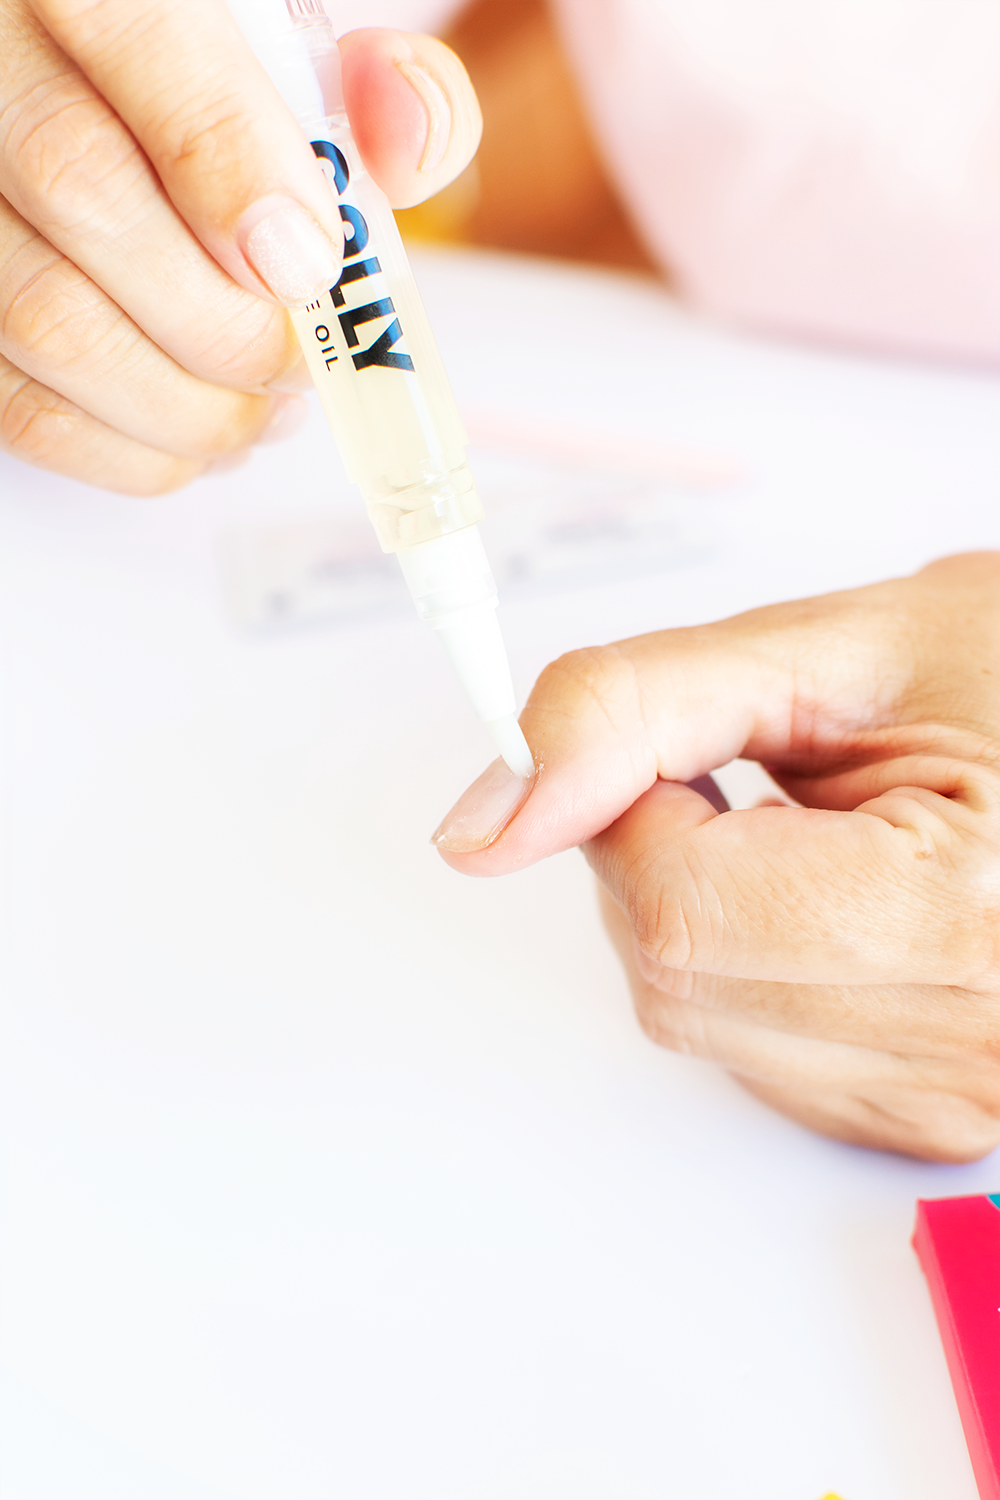
Step 1: Apply Cuticle Oil
Generously apply cuticle oil along the base of each nail and use the wooden stick to lift it enough to allow the oil to seep underneath the sticker to break down the adhesive. Let the oil sit for 1-2 minutes to soften the adhesive— a little longer if you've been wearing your set for a while.
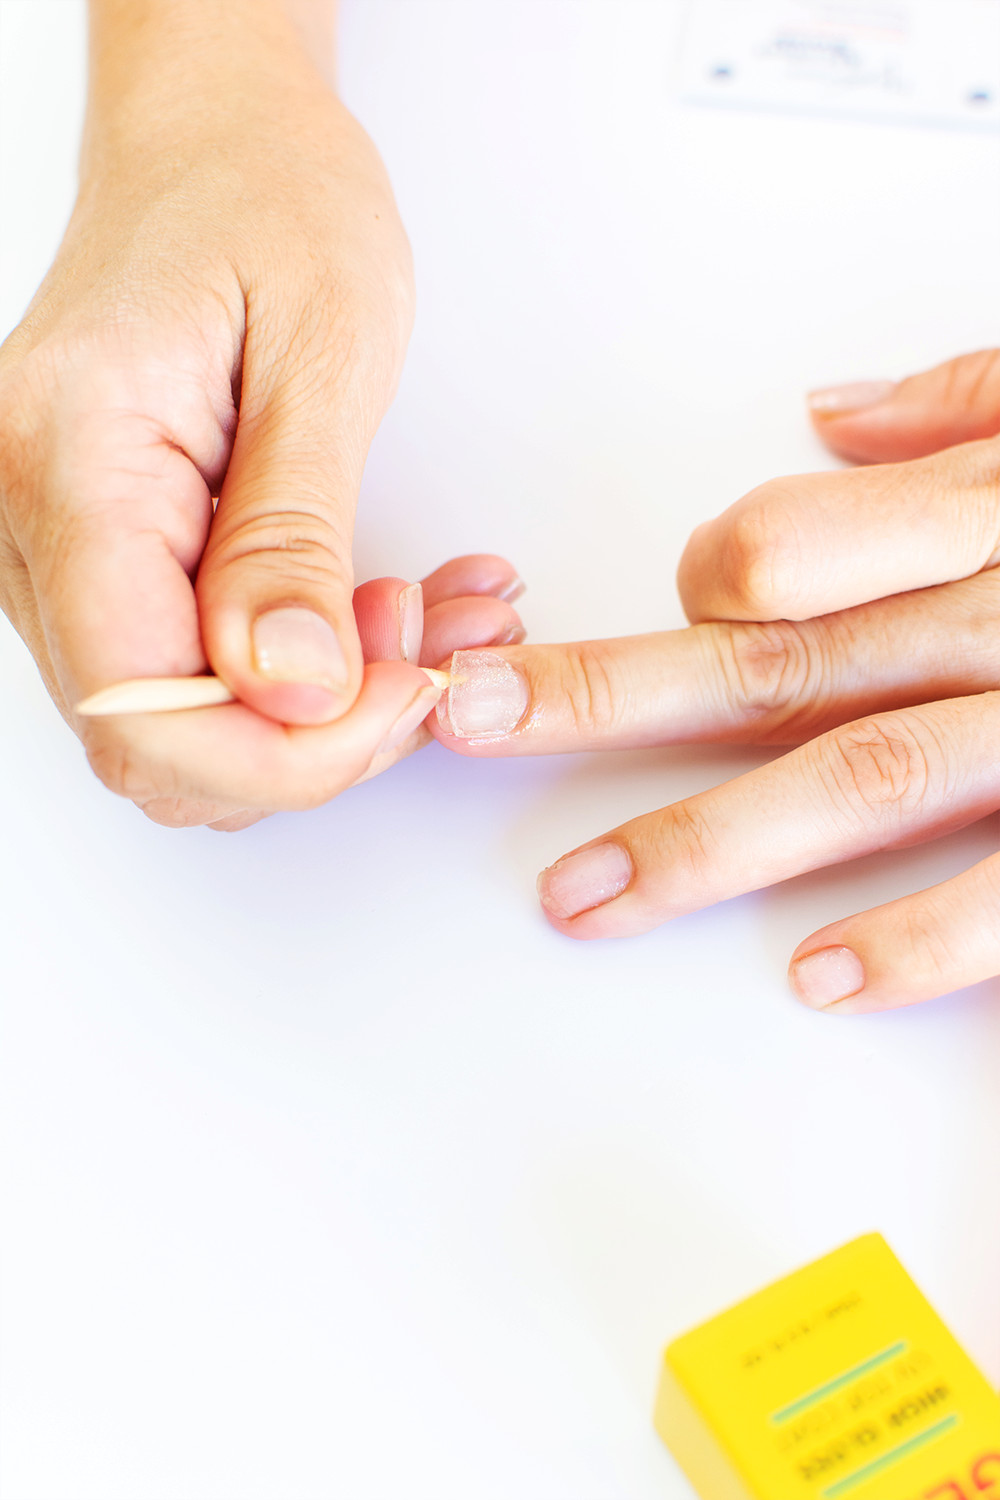
Step 2: Gently Lift the Edges
Once the adhesive has softened, use the wooden cuticle stick to gently lift one edge of the gel strip - reapply oil if needed - and using a wiping motion carefully work the sticker free. Work carefully—don't force it! If resistance is high, reapply more oil and wait a few more minutes.
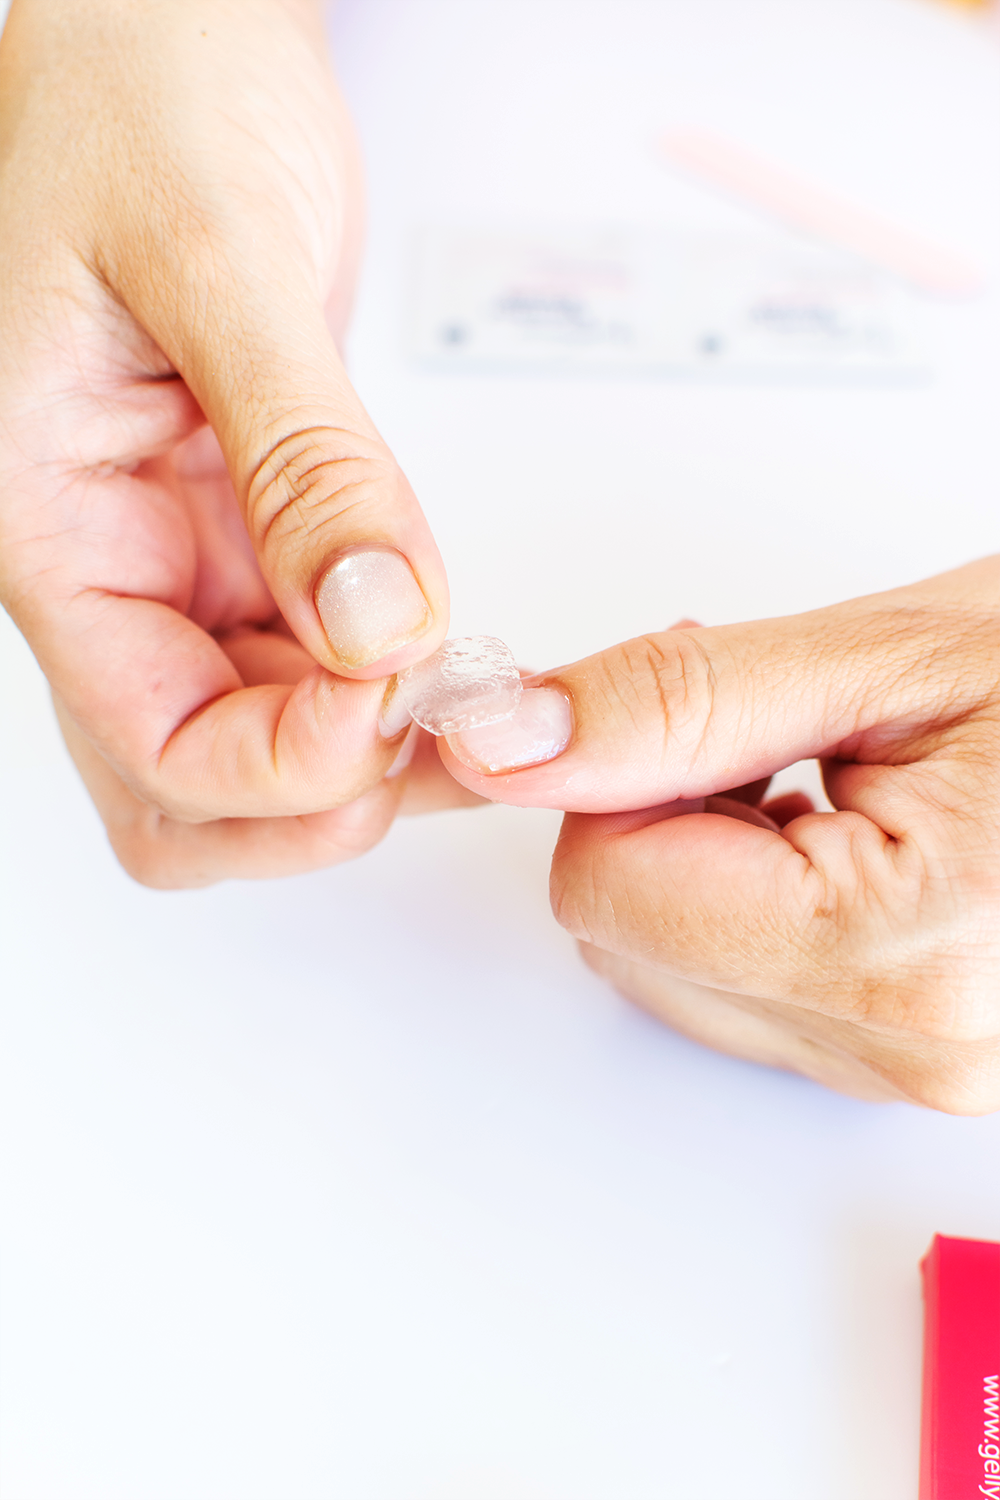
Step 3: Slowly Peel Off the Strip
Continue the wiping motion from one side to the other with the wooden stick until the strip starts to lift easily. Move slowly and evenly to prevent unnecessary stress on your natural nails. Avoid pulling or tugging—let the oil do the work.

Step 4: Wipe for a Clean Finish
Once all strips are removed, wipe away any residual adhesive. If needed, gently wash with warm soapy water to remove any lingering residue, ensuring a smooth and clean surface. Finish with a rich cuticle cream.
The golden rule of gel strip removal? Patience, not pressure. If your strips aren’t budging, don’t force them—it just means they need a little more oil. Apply another drop of cuticle oil, let it soak in, and give it time to work. The oil will do the heavy lifting so your strips slide off effortlessly, leaving your natural nails healthy and ready for their next flawless set.
Questions & Answers


Have More Questions?
Have More Questions?
Check out our FAQ section for answers on application, removal, shipping, returns, and everything in between.
Ready for Your Next Stunning Set!
Now that your nails are fresh and ready, it’s time for the fun part—choosing your next look! Whether you're into bold designs, timeless classics, or something completely unique, we’ve got a Gelly wrap waiting for you.
Shop now and explore our latest collections. Then head over to our How to Apply guide for the perfect step-by-step application tips to get that flawless, salon-quality gel finish—right at home.