Gel Nail Strip Application Guide

Your step-by-step path to gorgeous, long-lasting nails - no salon required.

To help you get the best results, we’ve broken the guide into bite-sized sections you can easily jump between:

  • Essentials – What you need before you start.
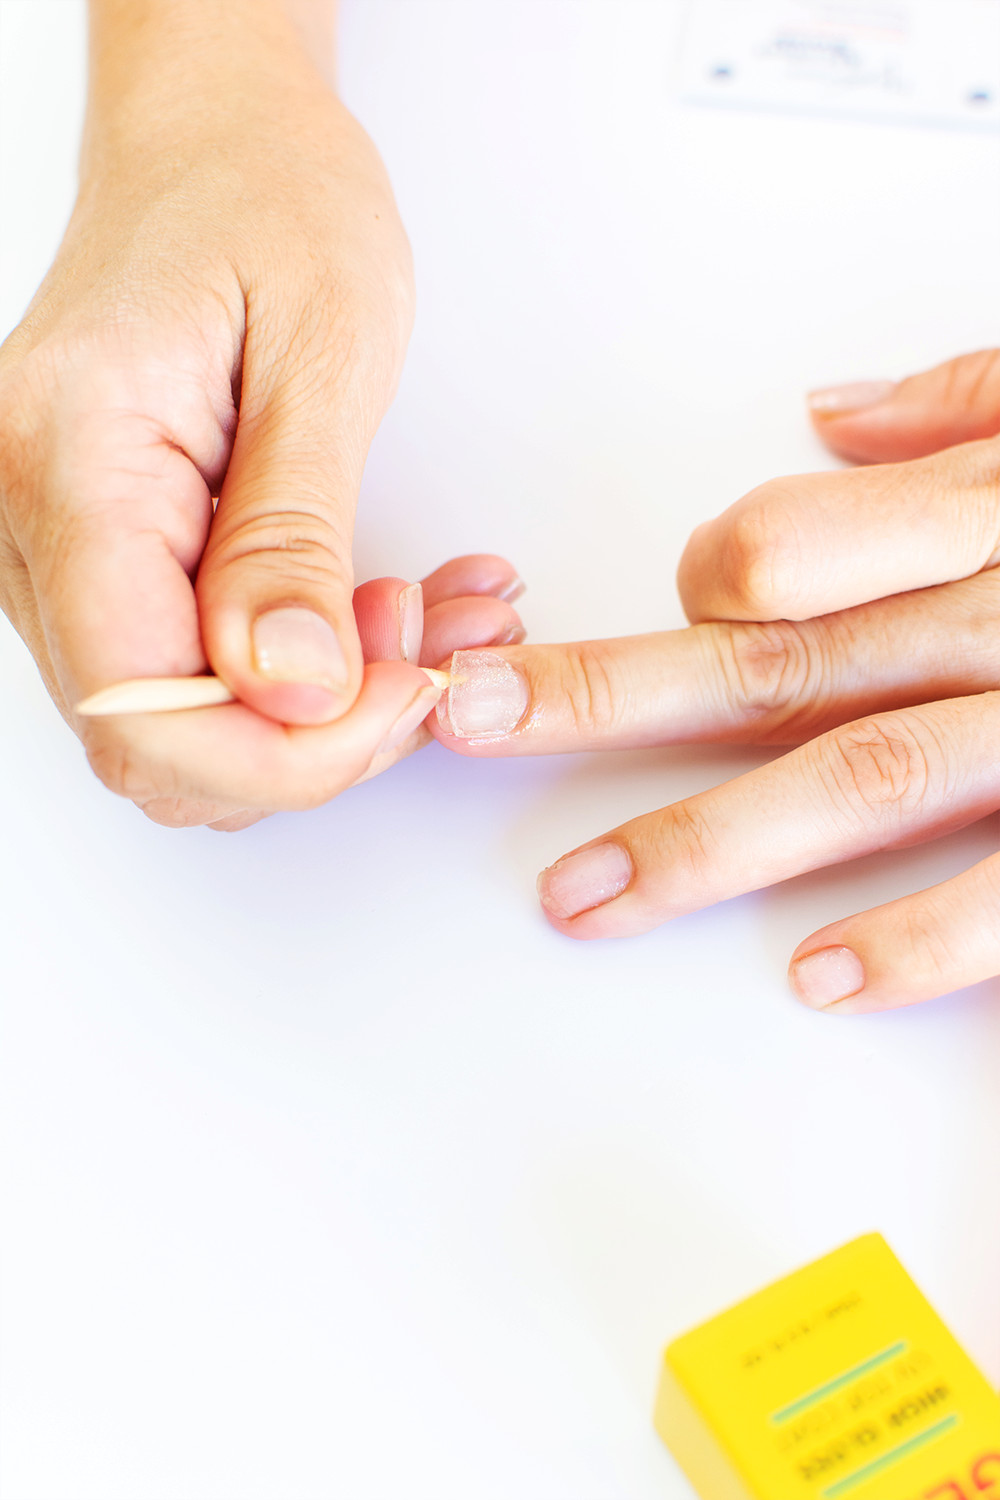
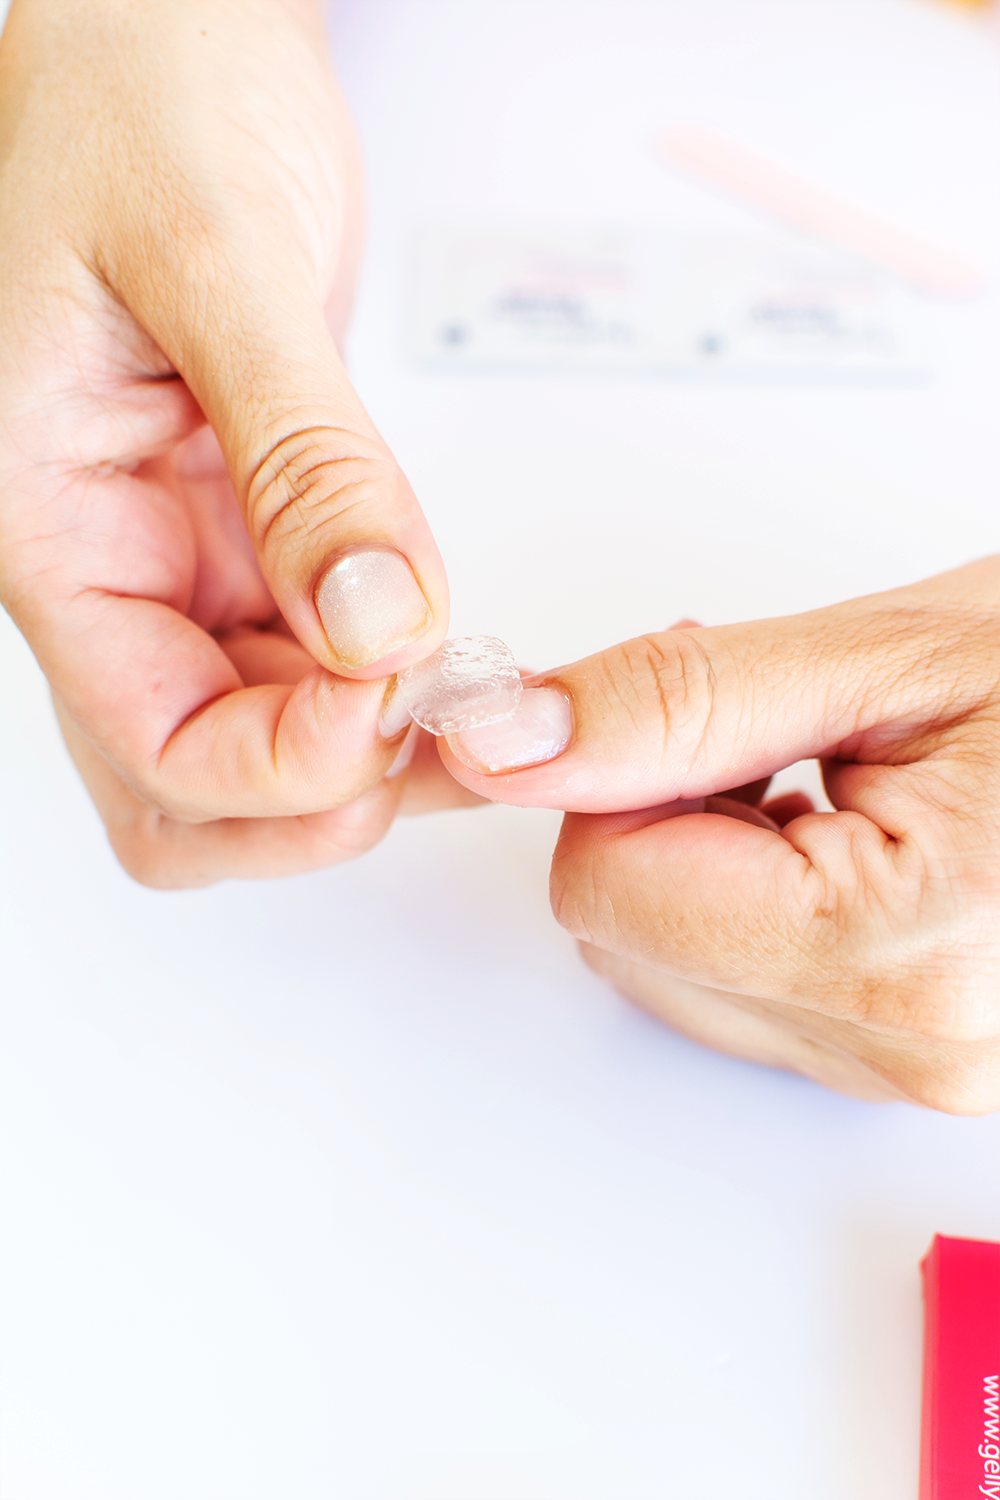
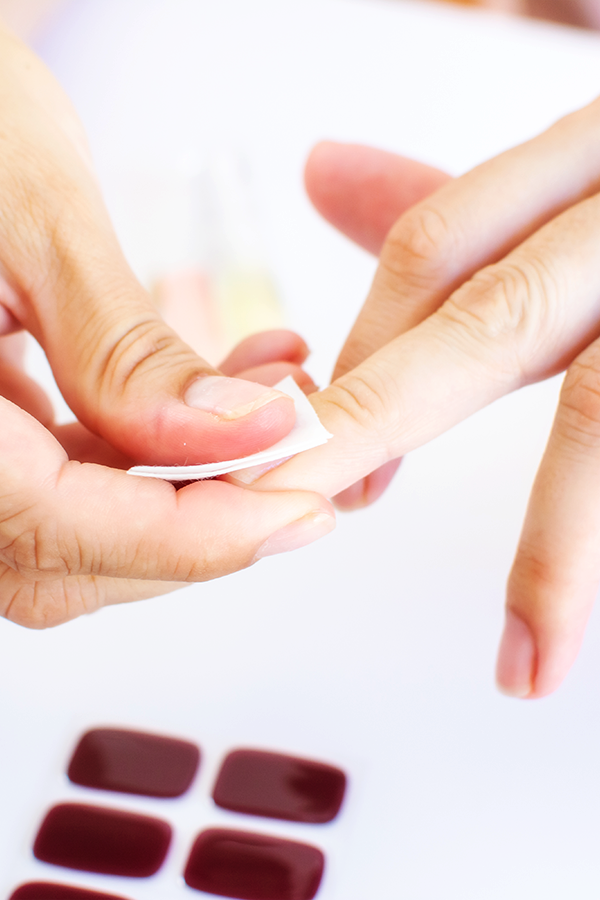
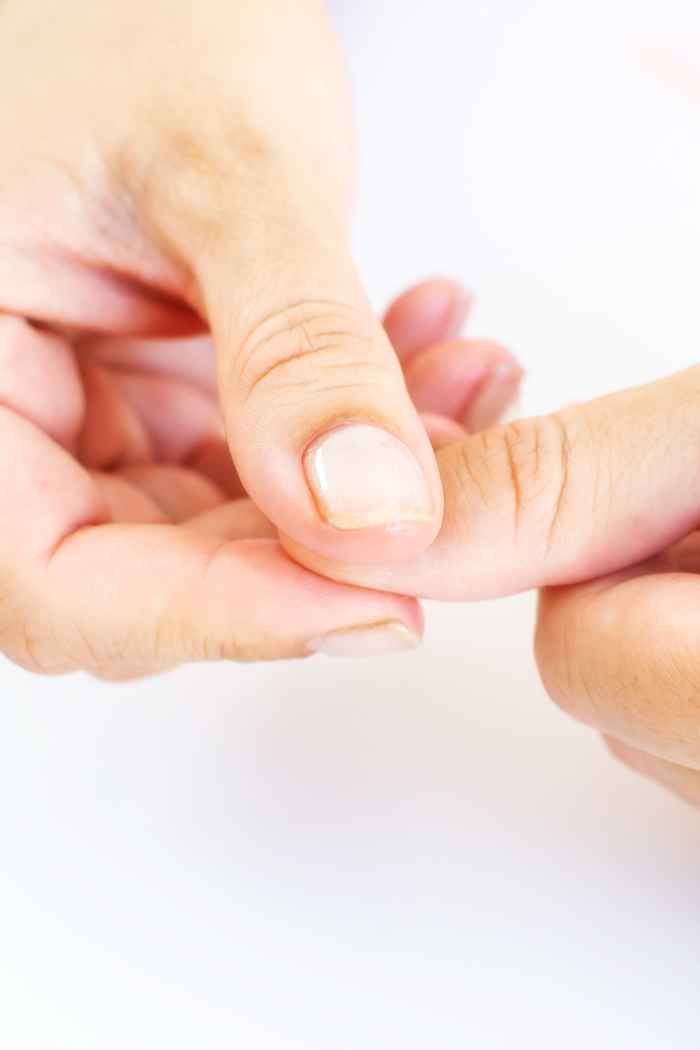
  • Prepare – Nail prep tips that make all the difference.
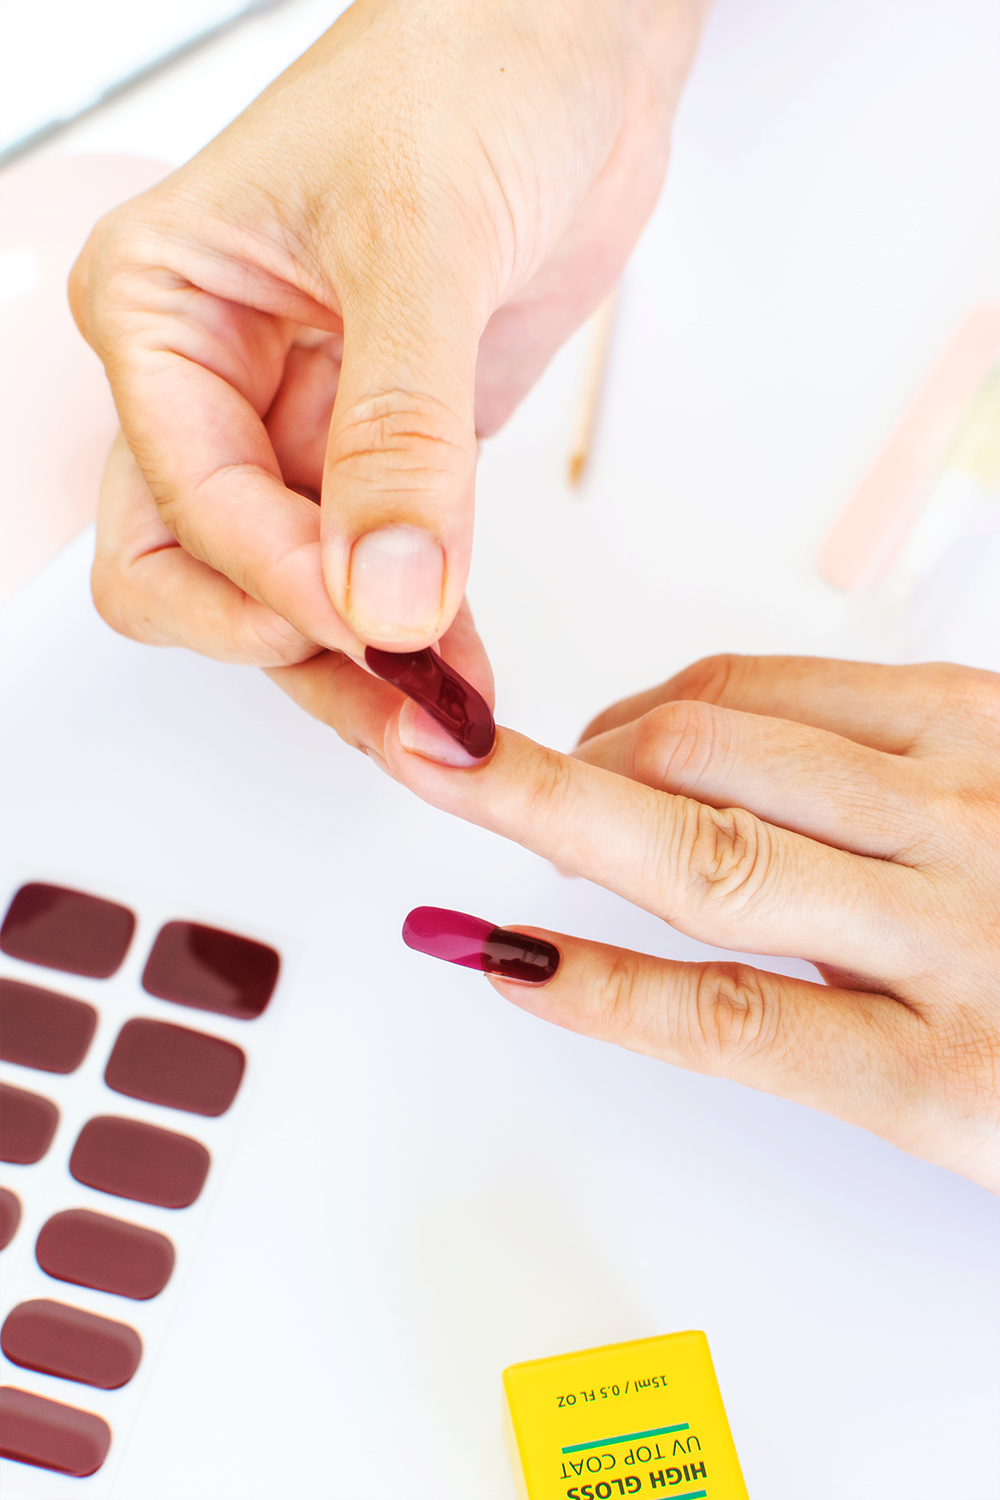
  • Apply – Our foolproof method for smooth, lasting application.
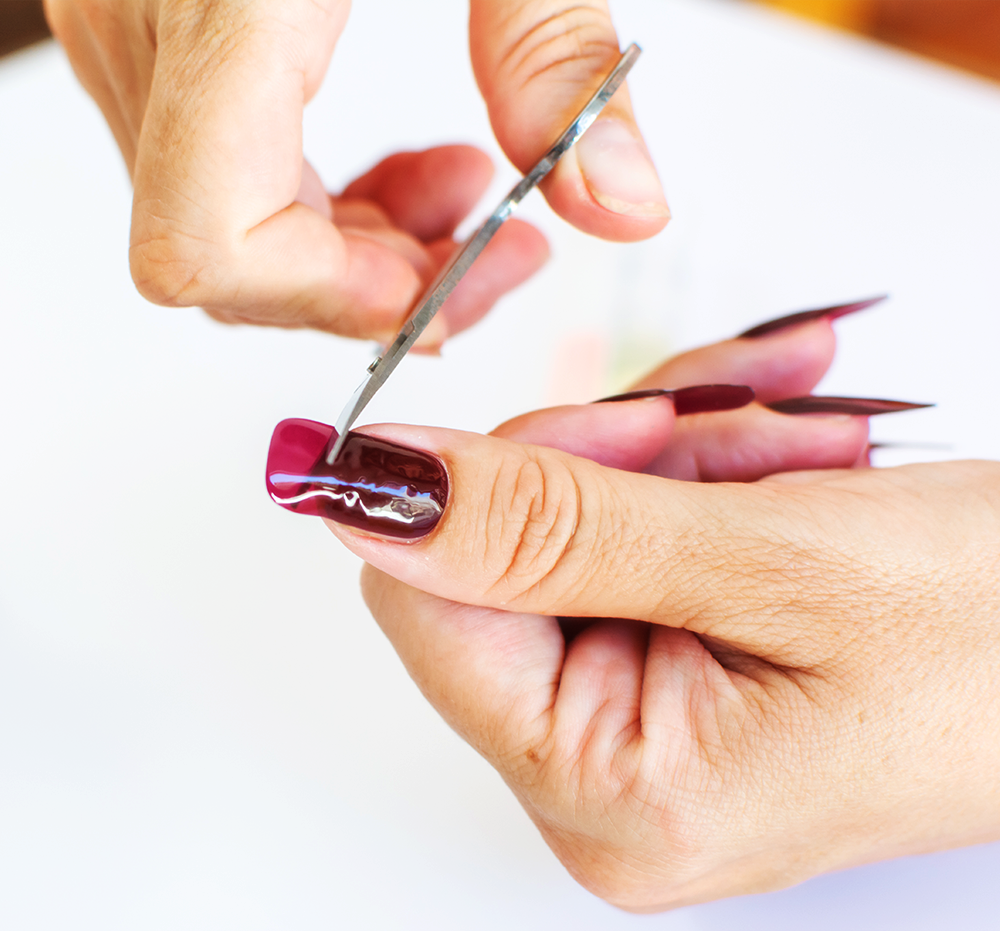
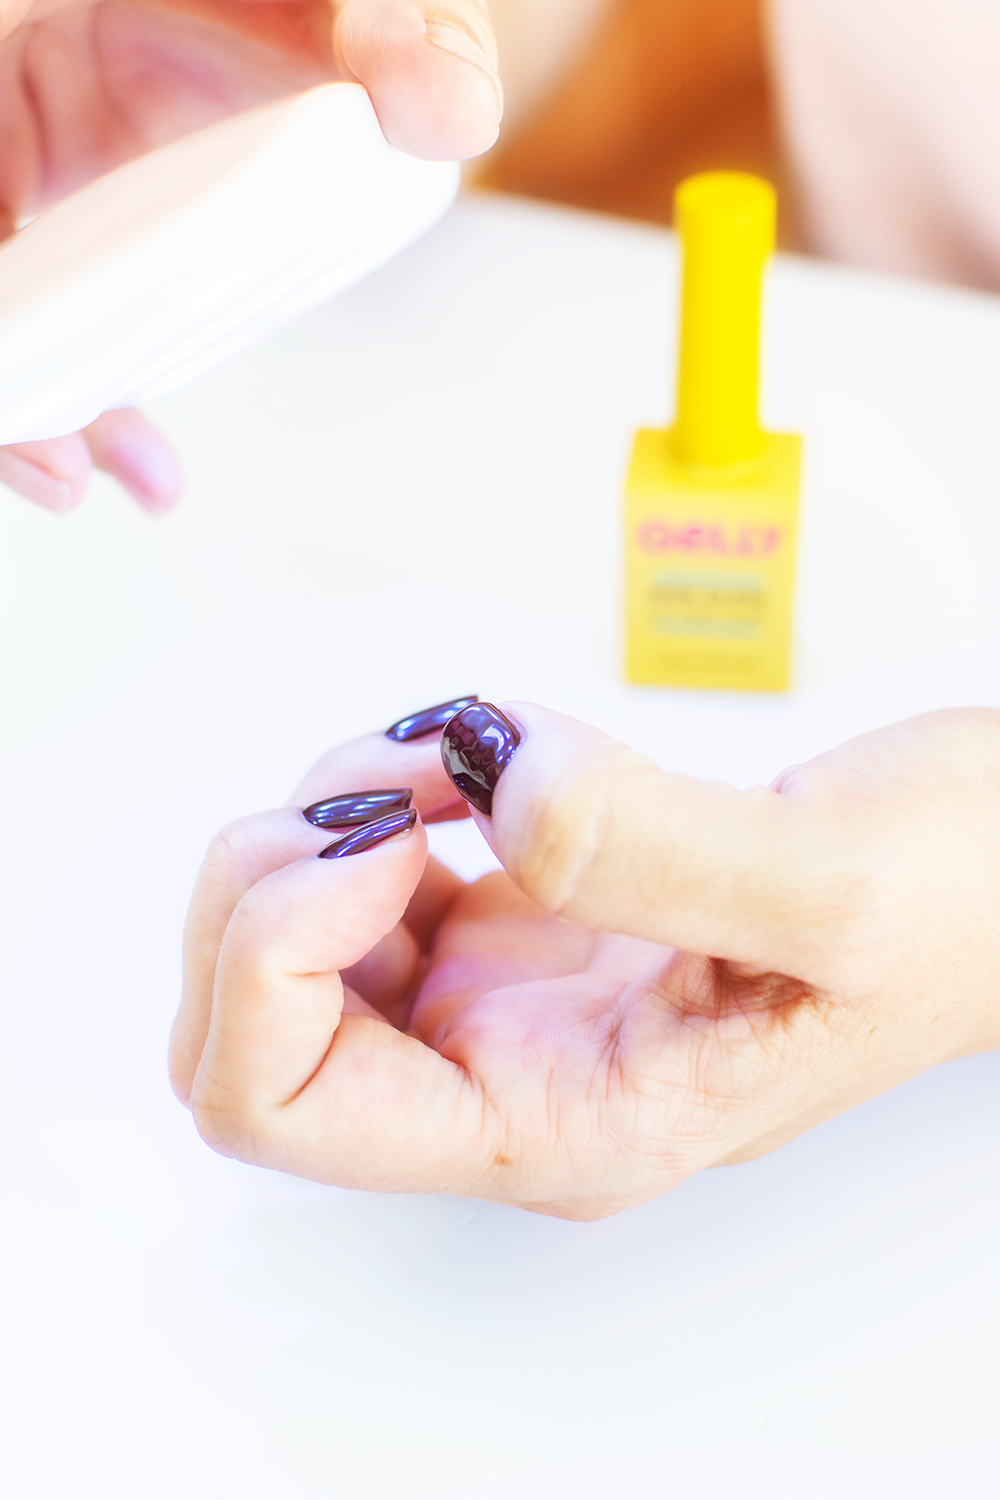
  • Customize – Add-ons, top coats, and creative styling options.
  • Aftercare – Tips to keep your mani looking flawless for longer.
  • Q&A – Quick answers to common application and care questions.

Just follow the steps—and enjoy a perfect set of Gelly nails every time.

Need more help? Check out our FAQ Section for answers to common questions, or head to Removal Guide when it’s time for a fresh set.

GETTING READY

WASH

Wash your hands with soap to remove every trace of oil. Clean nails grip better.

PUSH

Gently push back your cuticles. Clear edges help your strips stay put.

WIPE

Wipe each nail with the alcohol pad, then let them dry completely.

HOW TO APPLY

PICK

The strips have different widths. Pick the one that best fits your cuticle shape. Between sizes? Pick the narrower one.

PLACE

Set the sticker just above your cuticle, not touching it. This helps prevent lifting as your nails grow.

PRESS

Press the sticker down firmly to activate the glue. Then gently smooth out any bubbles or wrinkles.

TRIM

Flatten the strip's edges with the wooden stick. Trim off the excess with nail scissors or clippers. Then file gently before curing.

CURE

Cure your nails under a UV or LED lamp to harden your stickers. 60-90 seconds should be enough, but repeat if needed.

FINISH

Give each nail a final file to perfect the shape. You can seal with a top coat for extra gloss and wear. Avoid liquids and creams for an hour.

See Them
Going On!

HOW TO REMOVE

LOOSEN

Gently lift the edges of the strip to create small gaps. Use the wooden stick to work in a few drops of cuticle oil (or polish remover).

LIFT

Gently slide the wooden stick back and forth to work in more oil. As the glue softens, the strip will lift without pulling or scraping.


CLEAN

Wipe each nail with the included alcohol pad to remove any leftover adhesive. This leaves your nails fresh and ready for your next set.

FINISH!

And that’s it. Your gel nail strips are off. We suggest letting your nails rest a few days before applying your next set.

Watch Them
Coming Off